← All product support
Product support / V1P Flex X4 · Best Buy version

Get set.
Drive with clarity.

Set up your camera, connect your phone and find the footage you need—with clear guidance for your V1P Flex X4.

Download the quick start guide ↗
Front & rear recordingWi-Fi app connectionOptional GPS & side cameras
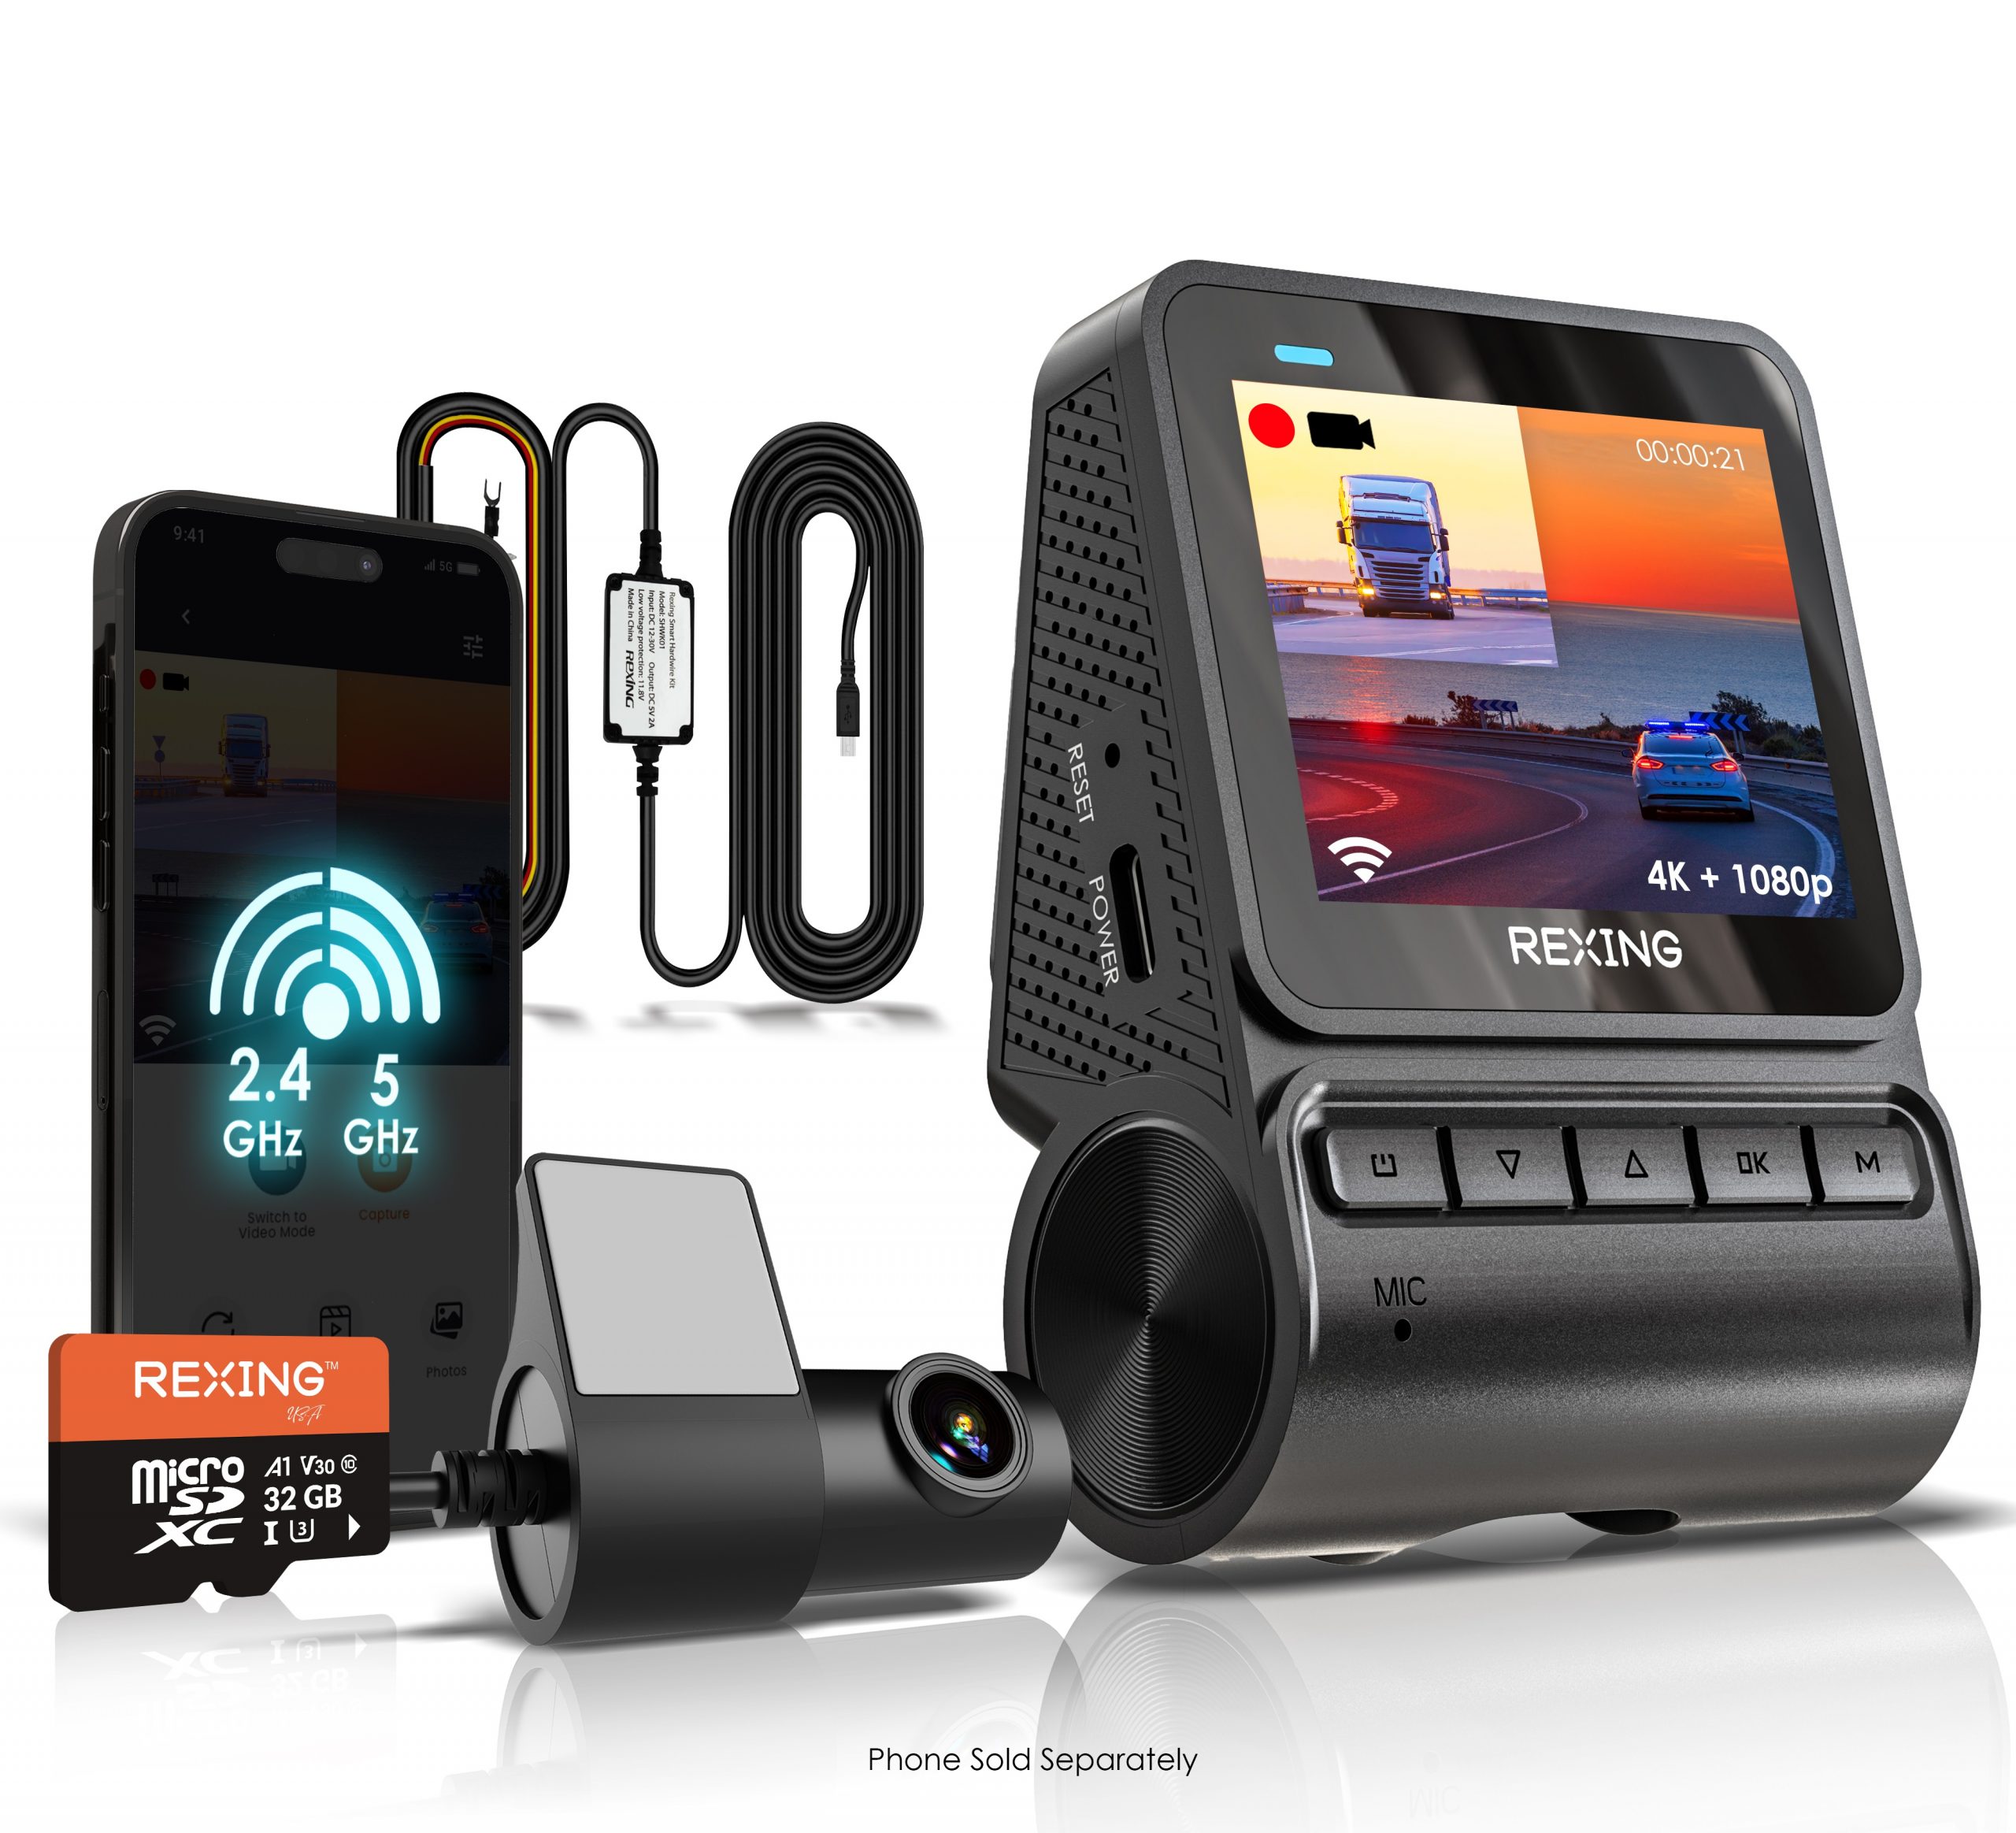
Rexing V1P Flex X4 dash camera system
01 / Your first drive

Three steps to ready.

Complete installation and settings while parked. Check the full model name on your camera before using this guide.

STEP 01

Mount and connect.

Clean and dry the windshield. Position the electrostatic sticker and adhesive mount behind the rear-view mirror without blocking your view. Connect the rear camera to its dedicated port and route cables clear of airbags and moving parts.

STEP 02

Insert your memory card.

With the camera powered off, insert a Class 10 / UHS-I or higher microSD card, up to 512GB, until it clicks into place. The linked guide specifies this capacity for V1P Flex X4.

STEP 03

Power, format, record.

Connect the supplied charger to the camera’s USB-C port and a 12V vehicle outlet. Stop recording with UP, press MENU twice, select Format and confirm with OK. Back up files first: formatting erases the card.

Check before driving: Confirm the date and time, front and rear views, and recording indicator. Recording starts automatically when the camera receives power. The guide identifies a flashing purple indicator during recording.

More views are optional.

The guide lists the front unit and rear camera in the standard contents. Left and right cameras are sold separately and connect to the dedicated side-camera port. Confirm your package contents before installing accessories.

02 / Connect your phone

Your recordings.
Closer at hand.

Use the Rexing Connect app to access live view and view or download recordings.

  1. Enable Wi-Fi on the camera.With the camera powered on, hold OK. Its Wi-Fi name and password appear on-screen.
  2. Join that network on your phone.Open the phone’s Wi-Fi settings and select the exact name shown by the camera. Use the displayed password; the guide’s example is 12345678.
  3. Open Rexing Connect.Keep the camera Wi-Fi connection active, open the app, then tap Connect. If prompted, choose “Keep Trying Wi-Fi” or the equivalent option to remain connected.
Get Rexing Connect →
03 / Save the moments that matter

Find it. Play it. Back it up.

Save important footage before formatting your card or allowing loop recording to overwrite older unlocked clips.

ON THE CAMERA

Hold MENU for Playback.

Stop recording first. Hold MENU to enter Playback, choose a video using UP / DOWN, then press OK to play or pause. During playback, DOWN fast-forwards and UP rewinds.

ON YOUR PHONE

Connect and download.

Join the camera’s Wi-Fi network, open Rexing Connect and tap Connect. Find the required clip and download it to your phone before sharing it.

ON A COMPUTER

Use a card reader.

Power off the camera, remove the microSD card and connect it to your computer using a compatible reader. Copy important recordings to a separate folder. The guide also supports a USB-to-USB-C data connection.

Front and rear files: The rear camera receives power through the front unit and saves its recordings to the front unit’s memory card.
04 / Understand your accessories

The right power.
The right features.

Parking monitoring and GPS depend on compatible accessories. Check your exact kit and package contents.

Parking monitoring.

A compatible Rexing Type-C Smart Hardwire Kit supplies power after the engine turns off. With correct installation, the camera can switch between parking and normal recording as the ignition state changes.

Connect the kit first.

Do not enable Parking Monitor without the compatible smart hardwire kit. The guide describes vibration-triggered event recording. Follow the instructions supplied with your specific kit.

GPS is optional.

The guide lists two compatible GPS accessories: the Rexing charger with GPS logger (UPC 810046606872) or Type-C GPS Smart Hardwire Kit (UPC 810046606865).

Once powered through a compatible accessory, the camera searches for a GPS signal. The GPS icon changes from blue to green after a fix. Set your preferred GPS speed unit in System Settings.

Find the GPS video player →
Battery protection: If the hardwire kit cuts power to protect a low vehicle battery, parking monitoring cannot operate until power returns. Cutoff behavior depends on the installed kit; check its instructions.

Keep loop recording working.

Locked event clips are not overwritten by normal loop recording. The guide recommends low Gravity Sensing sensitivity for normal driving when parking monitoring is not in use. Back up important clips and review locked files if the card fills up.

05 / Troubleshooting

A clear next step.

Answers for setup, storage, playback and accessory-dependent features.

Ask Rexing support →

Which memory card should I use?

The linked V1P Flex X4 guide specifies a Class 10 / UHS-I or higher microSD card, up to 512GB. Choose a card designed for dash-cam recording and format it in the camera before first use. Power off before inserting or removing it.

How do I format the card?

Back up recordings first—formatting erases the card. Stop recording with UP, press MENU twice to enter System Settings, select Format using UP / DOWN, and confirm with OK.

Why can’t I access the settings?

Stop the active recording with the UP button before opening the menu. Press MENU once for video settings or twice for system settings.

How do I view front and rear recordings?

Stop recording, then hold MENU to enter Playback. Select a clip with UP / DOWN and press OK. Rear-camera recordings are saved to the memory card in the front unit. For computer playback, power off and use a card reader.

My phone says the camera Wi-Fi has no internet. Is that normal?

The camera Wi-Fi is a local connection for live view and recording downloads, not an internet hotspot. Keep the phone connected to the camera network and open Rexing Connect. If prompted, choose the option to keep using that Wi-Fi connection.

Why is the memory card full even with loop recording?

Event-locked videos are protected from normal loop overwriting. Back up needed footage and review locked files. The guide recommends low Gravity Sensing sensitivity for normal driving when parking monitoring is not in use. Format only after saving important recordings.

Why is GPS information missing?

GPS requires a compatible optional Rexing GPS charger or Type-C GPS Smart Hardwire Kit. A standard power connection alone does not enable GPS. With the correct accessory connected, allow the camera to acquire a signal; the GPS icon changes from blue to green.

Why does parking monitoring stop working?

Parking monitoring requires a compatible smart hardwire kit and correct wiring. It is not enabled by the standard car charger alone. If the kit’s low-voltage protection cuts power, the camera cannot continue monitoring until power is restored. Check the kit’s own instructions and contact support if the behavior continues.

06 / Downloads and help

Resources for your exact model.

Before updating firmware: Use only firmware explicitly matched to your V1P Flex X4 and device version. If you are unsure which file applies, contact support with a photo of the product label and current firmware screen.

Still need a hand?

Send your model, current firmware version and a description of the issue.

Contact Rexing support →

Based on the official V1P Flex X4 quick start guide linked from the Best Buy version support page. Warranty & returns →