
P3 Mini.
Capture.
Review.
Get familiar with your camera, check recording status and keep important files safely.
Download P3 Mini guide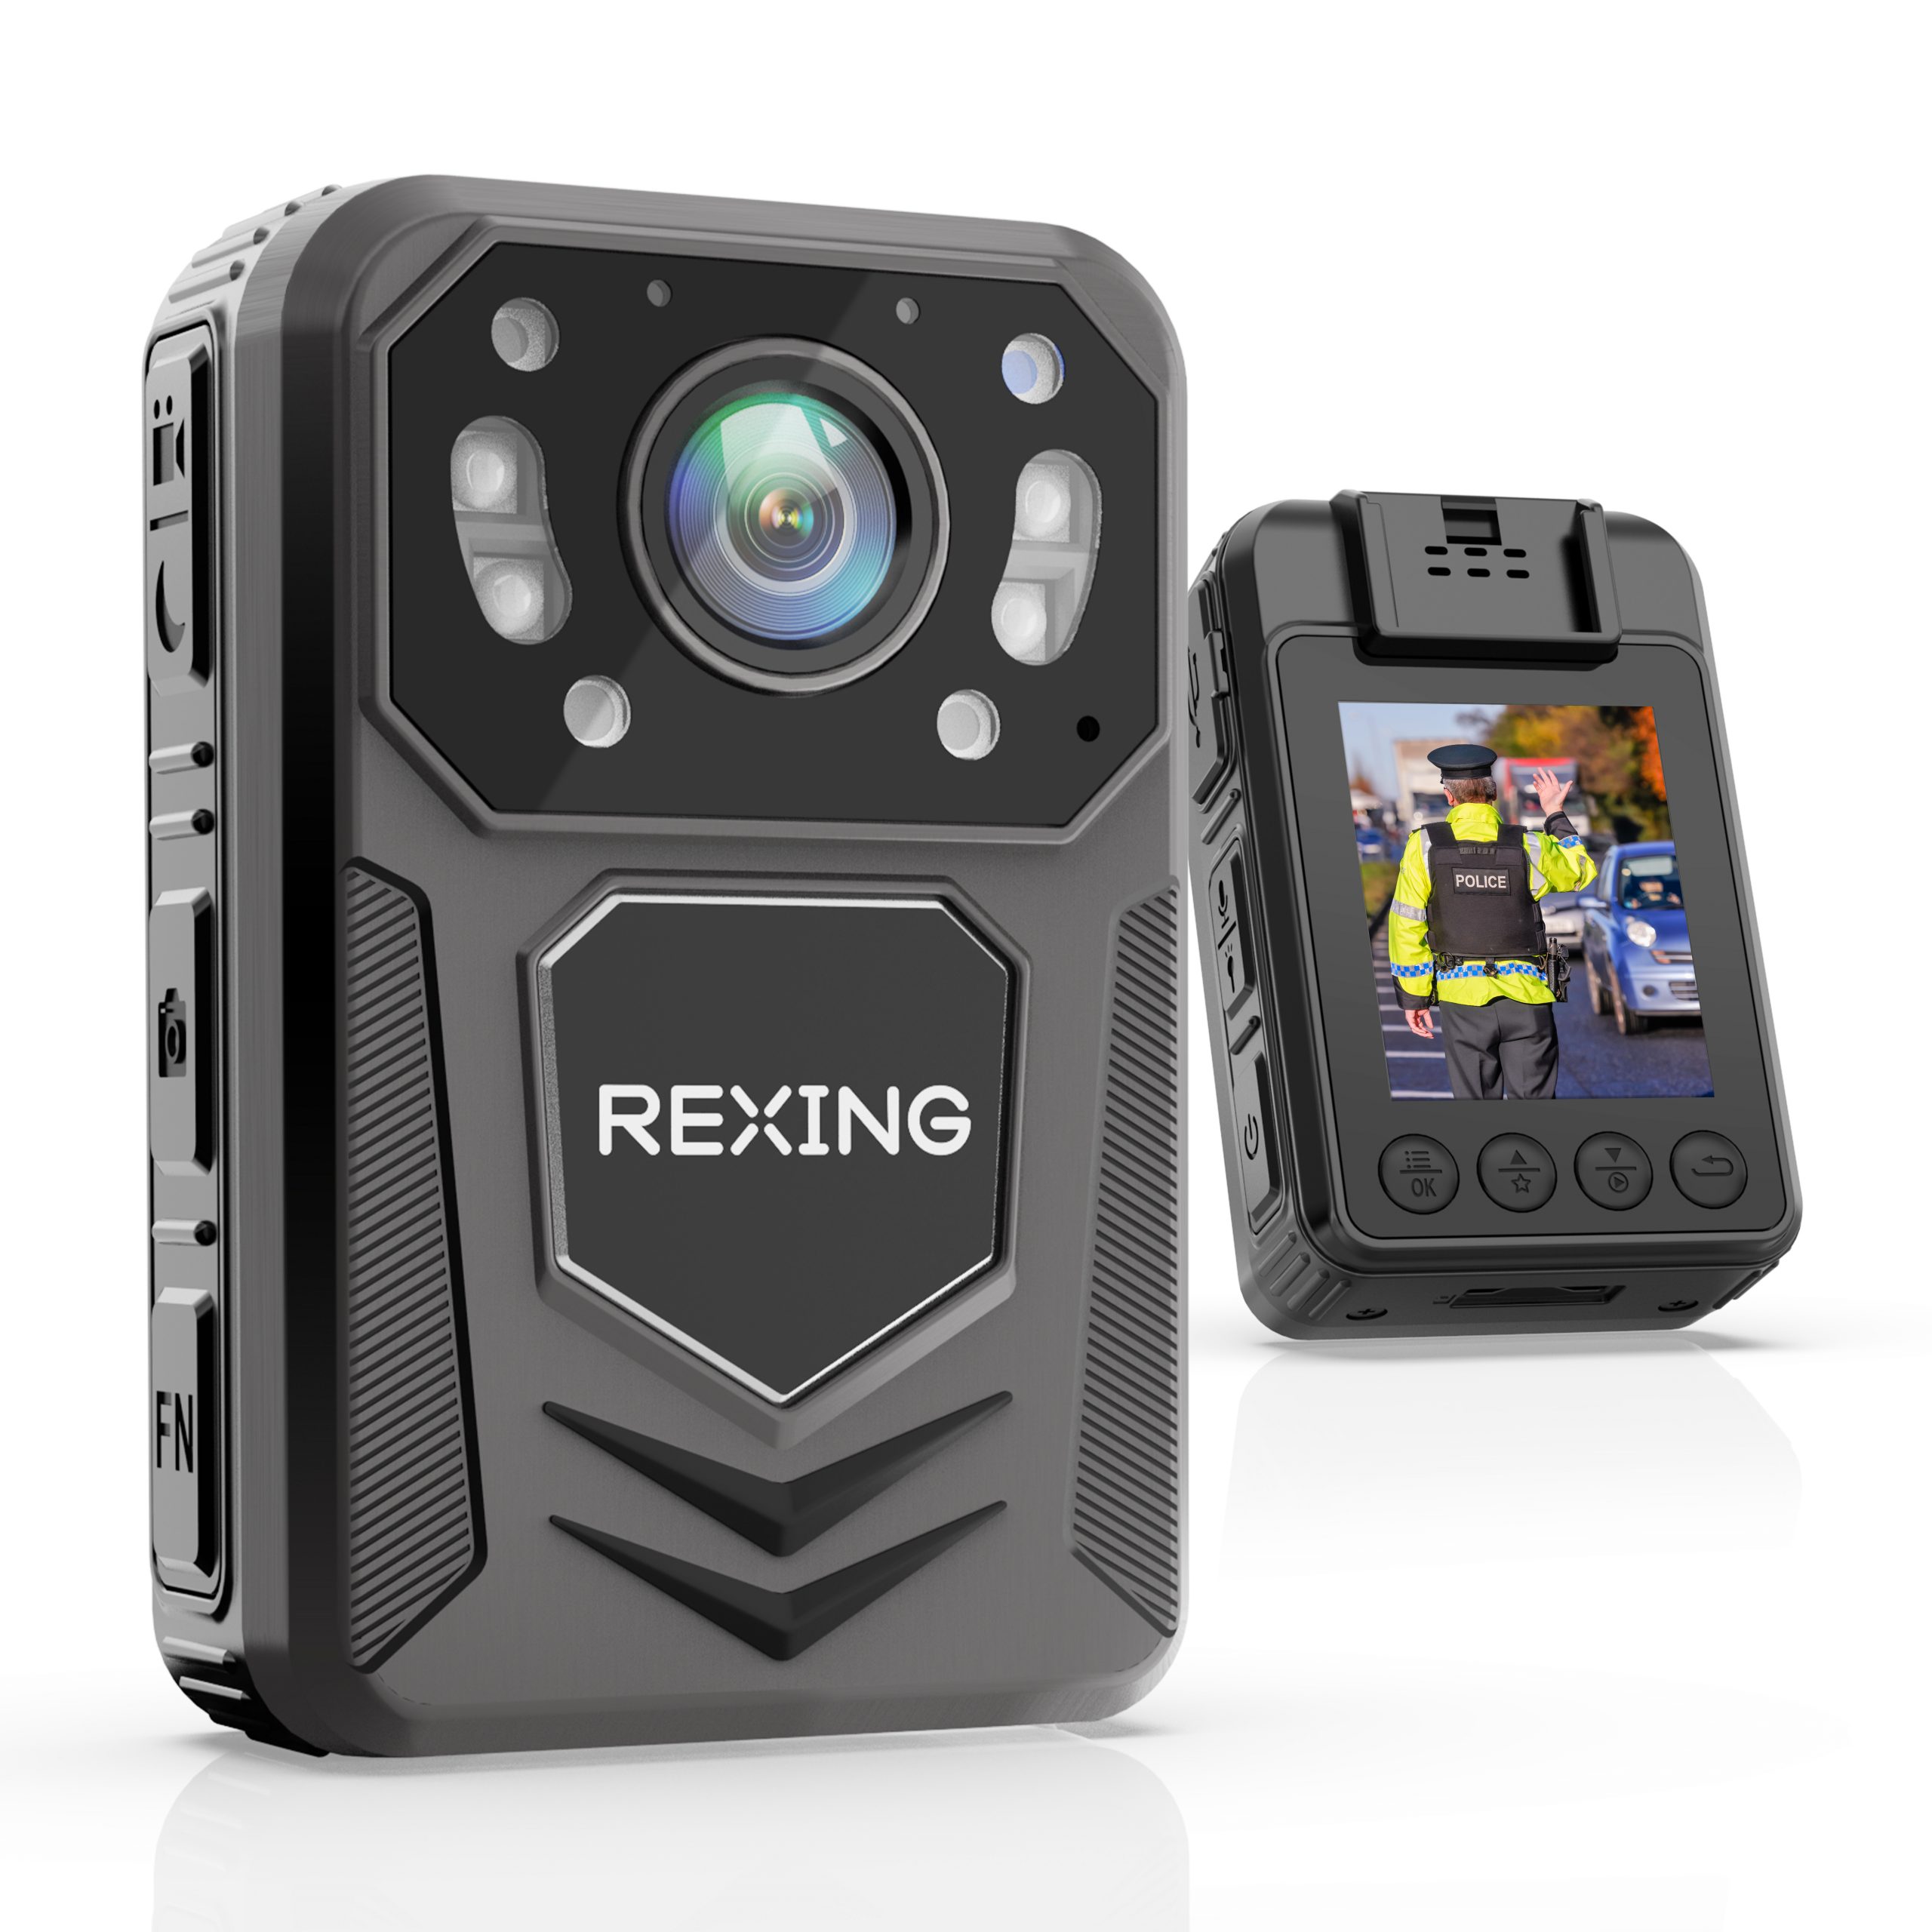
A quick check before you start.
Confirm battery level, available storage and the displayed date before each important recording.
Charge via USB
The guide specifies DC 5V / 1A USB charging. Use the supplied cable and a suitable power source.
Check the settings
In standby, press MENU. Navigate with UP / DOWN and confirm with OK. Check time and video settings for your intended use.
Make a test recording
Check the lens and mounting position, record a short clip, then play it back. Confirm the picture, sound and timestamp before relying on the camera.
Capture with confidence.
Learn the controls before your next session. Watch the recording indicator to confirm which mode is active.
Video
From the preview screen, press VIDEO to start and press again to stop. The working indicator flashes red during recording; stopping saves the clip.
Photos
Press PHOTO from the preview screen to take and save a picture.
Audio recording
Press RECORD from preview to start audio-only recording. Press it again to stop and save. The working indicator flashes orange during audio recording.
Night vision changes the image.
With IR control set to Manual, hold VIDEO to toggle infrared illumination. IR mode produces a black-and-white image. The guide also describes an Auto setting for changes in ambient light.
Your recordings.
Keep the originals.
- Review on the cameraIn standby, press DOWN, choose Videos, Photos or Audios, then select a file using UP / DOWN and OK.
- Connect to a computerUse a data-capable USB Type-C cable. The guide describes the camera appearing as a USB drive with separate video and photo folders.
- Copy and verifyOpen copied files to confirm the transfer, then keep a separate backup of important originals.
Deleting is a computer task.
The P3 Mini guide states that video files cannot be deleted directly on the device. Connect to a computer to manage them. Verify backups before deleting or formatting.
A clear next step.
Have the model label, system version and exact symptom ready when asking for help.
The screen turns off while I am using it.
The camera has a screen saver and configurable automatic screen-off setting. Wake the display with a key and check the recording indicator before assuming recording has stopped.
The camera does not turn on.
The manual recommends connecting to the charger and checking again after charging for four hours. Check the charger and cable. If the camera still does not respond, contact support with the indicator behavior and model details.
My night footage is black and white.
This is expected when infrared night vision is active. In Manual IR mode, hold VIDEO to toggle illumination. Check the IR setting and a test image when changing between day and night use.
My computer does not show the recordings.
Use a data-capable USB cable suitable for the camera and check whether the camera appears as a USB drive. Try another computer USB port. Keep the device unchanged if important files are missing, and contact support before formatting.
The camera is frozen or the image flickers.
Stop recording if possible, then power off and restart. If the camera remains unresponsive, follow the P3 Mini guide or contact support before resetting. Preserve important files before making changes.
A setting asks for a password.
Some settings, including date and time, are password protected. Consult the P3 Mini guide and use your current device password. If you cannot access a setting, contact support rather than repeatedly changing or resetting the camera.
Your P3 Mini resources.
Still need a hand?
Share your P3 Mini model label, system version and the issue you are seeing.