
Connect the correct kit
The guide specifies a Type-C Smart Hardwire Kit for impact-triggered parking recording. Enable Parking Monitor only with the compatible kit connected.
Check the kit label & installation guideCarrito
Su carrito está vacío
Setup, recordings and everyday troubleshooting for your mirror camera. Choose resources for the M2 Max Pro Best Buy version.
Download M2 Max Pro guide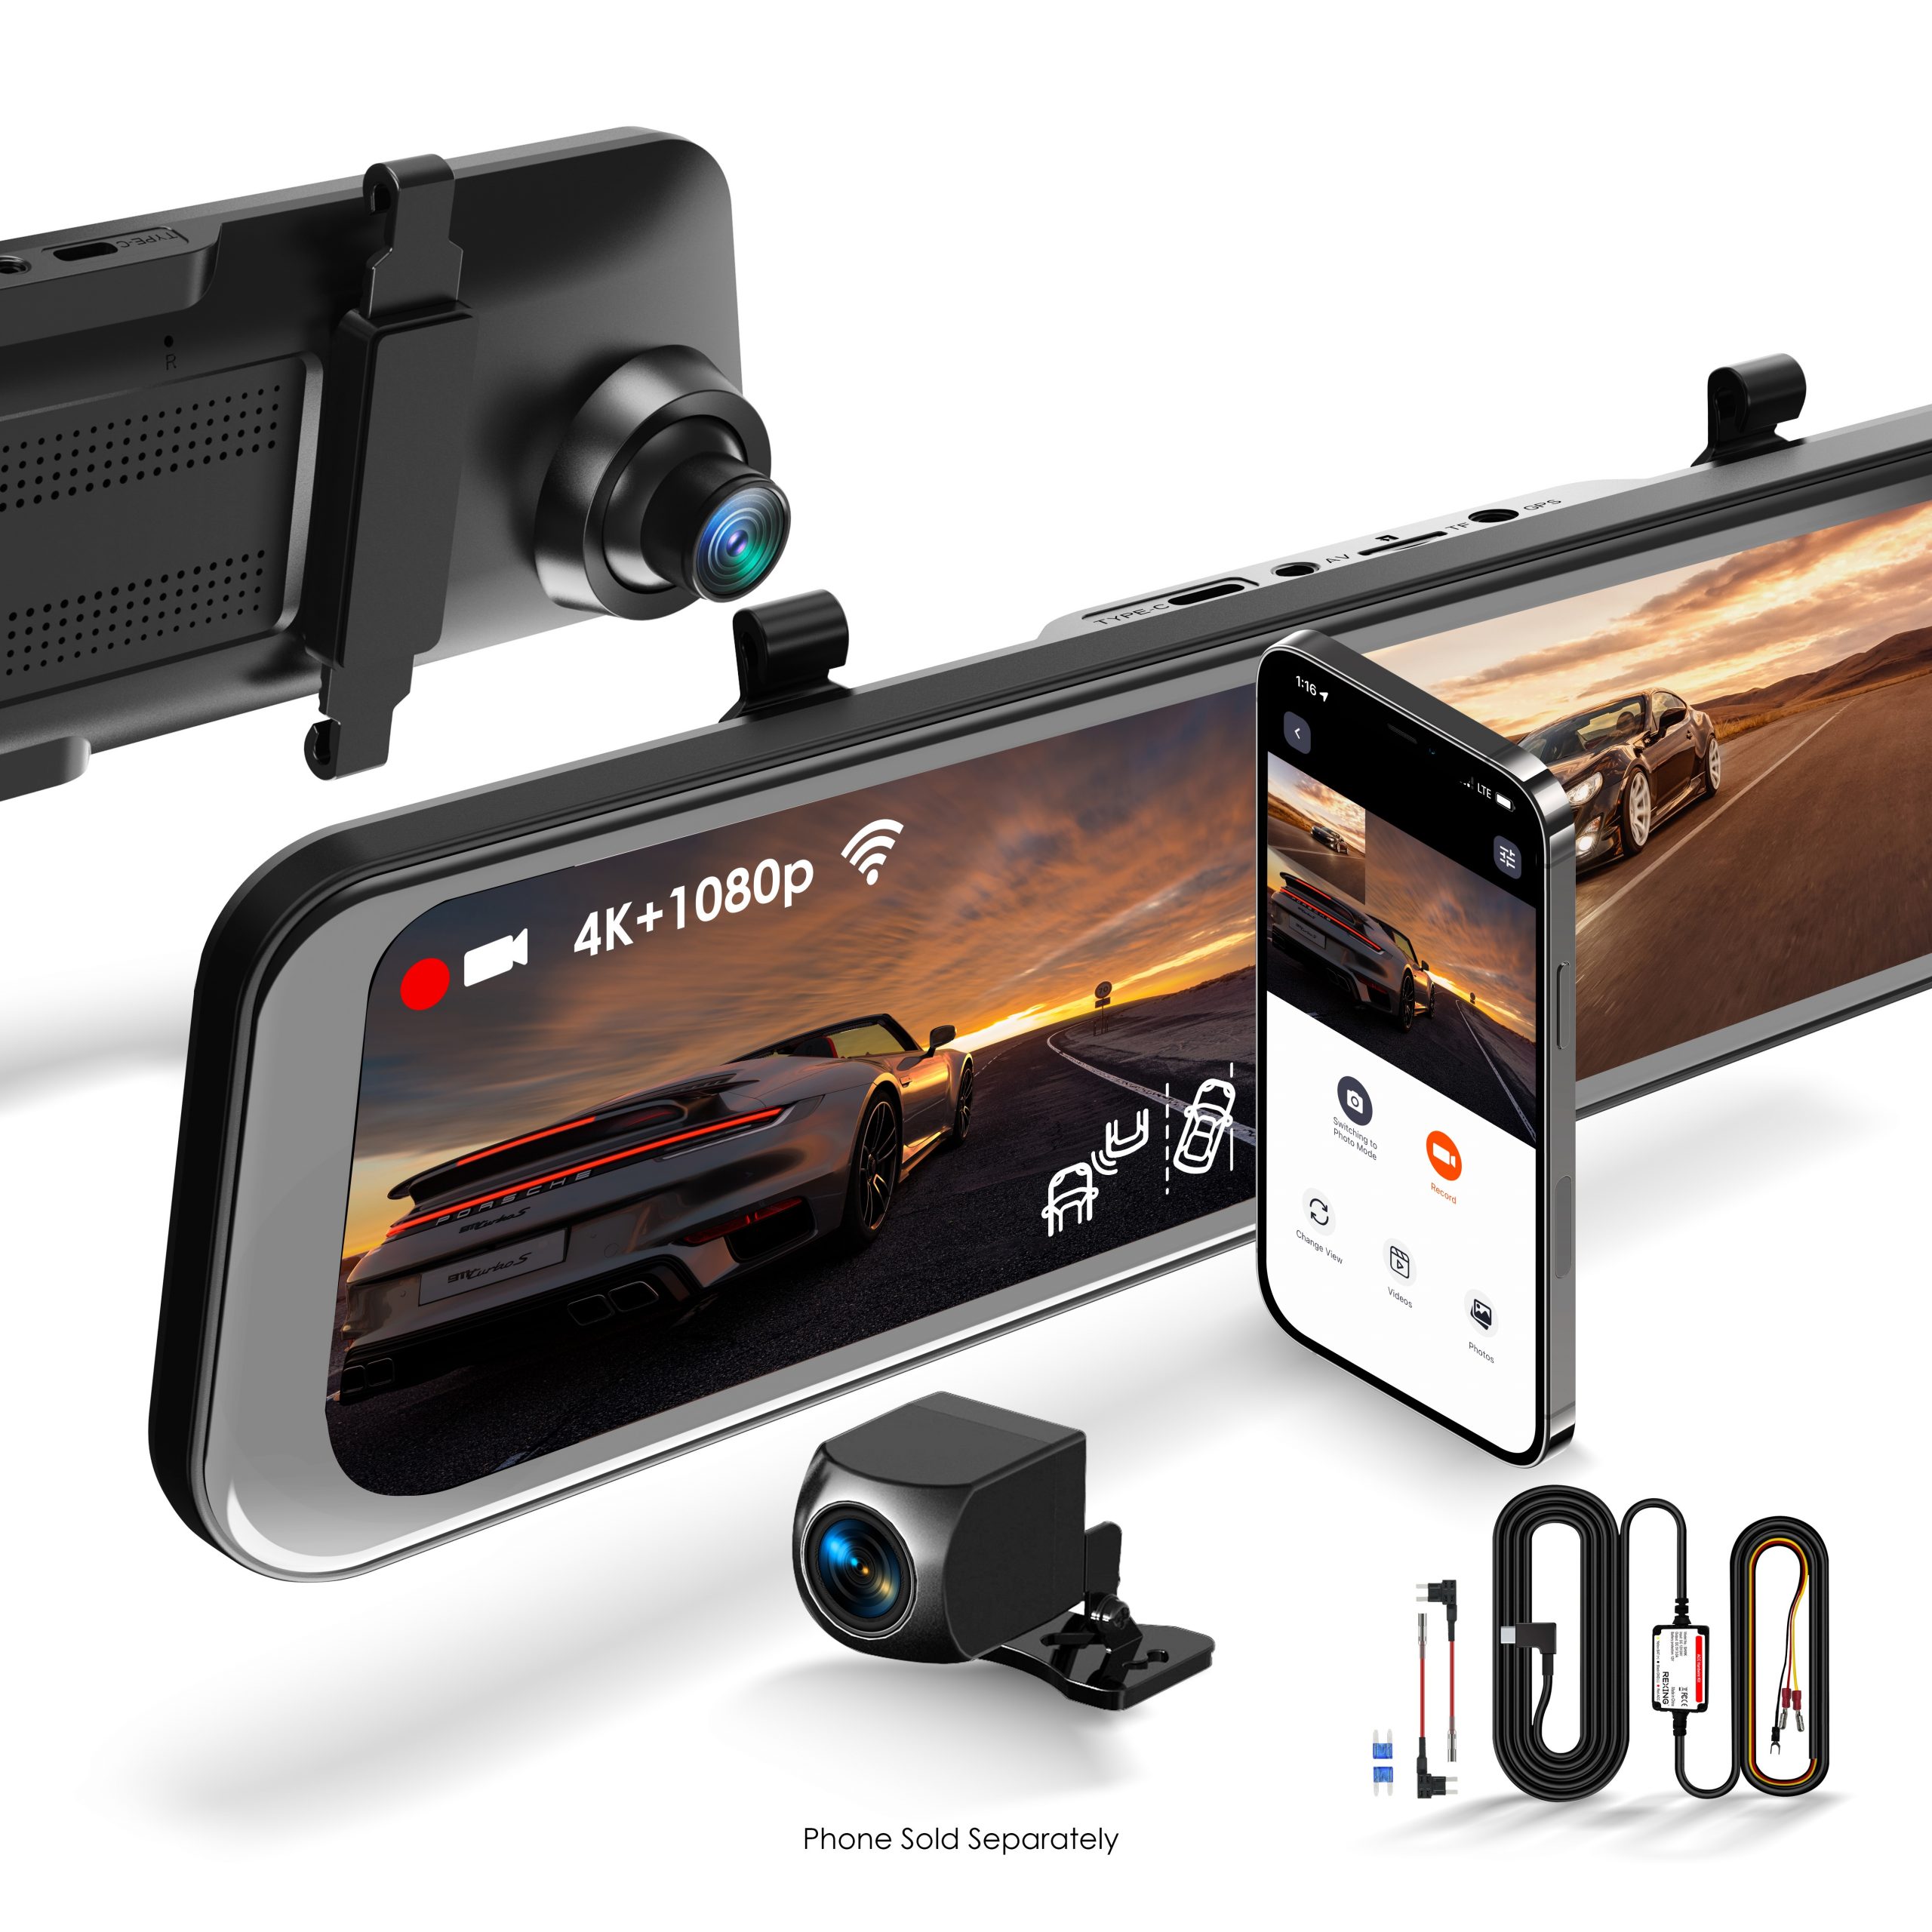
Complete setup while parked. Test the camera before concealing the cables so you can reach each connection easily.
Use a Class 10 microSD card, 32–256GB. Power off for card changes. Format on the touchscreen: stop recording → Settings → Format → confirm. Back up important files first.
Connect vehicle power to Type-C, the rear camera to AV, and the GPS receiver to GPS. Secure the mirror and route cables clear of airbags, pedals and moving parts.
Check framing and lens cleanliness. Make a short recording, then play it back to confirm both views and the timestamp. Keep the original test files if you need help diagnosing a problem.
Make adjustments while safely parked. Test recordings after a mounting or settings change, rather than relying only on the live display.
A short power-button press toggles the display; holding it for three seconds toggles device power. Tap the screen to reveal controls.
Swipe left/right between front and rear. Open File Explorer for playback. Save clips you need to another device before making changes to the memory card.
Smart Drive includes forward/lane alerts, rear-end collision warning and blind-spot detection. Follow the guide’s calibration procedure. Alerts assist your observations; always check the road and mirrors directly.
Confirm your hardwire kit and wiring before testing parking recording. A connection that works during driving may behave differently when the ignition is off.
The guide specifies a Type-C Smart Hardwire Kit for impact-triggered parking recording. Enable Parking Monitor only with the compatible kit connected.
Check the kit label & installation guideImpact-triggered parking recording may occur without lighting the screen or playing a startup sound. Inspect the saved footage to judge the result.
Check the file, not just the screenIf a kit’s low-voltage protection activates, it cuts camera power. Frequent triggers can use up the available battery reserve, leaving the camera unable to wake for another event. Restore the battery’s charge and check the kit’s settings and wiring. Keep battery protection enabled.
First verify reliable recording with the vehicle powered normally.
Then test the installed kit’s intended parking behavior while safely parked.
Automatic reversing view and engine-off monitoring are separate functions. Have any reversing trigger wiring checked by the installer.
Change one thing at a time and keep notes. That helps support understand what has been tested.
Test the supplied adapter in a known-working vehicle outlet and check its connection. For a hardwired installation, check the kit, fuses and ground with the installer. Low-voltage protection may intentionally remove power. Tell support whether the camera works using the vehicle adapter.
Preserve your footage first. Format the card in the camera, then test with a suitable known-good card if the error continues. Review protected files and available space. Never remove the card while the device is accessing it.
Keep the camera’s Wi-Fi selected and reopen Rexing Connect. Check the app permissions requested by your phone. If it still fails, send support the phone model, operating system, app version and exact message shown.
Switch the system off and inspect the rear-camera cable connections for loose plugs or damage. Restart and select the rear view. Note whether the issue began after an installation change so support can narrow down the cause.
Check camera mounting and calibration. Visibility, road markings and weather can affect detection. Continue to make your own observations and do not rely on an alert as proof that a lane change or maneuver is safe.
Check whether the kit still supplies camera power and whether battery protection has reached its cutoff. Restore vehicle battery charge before retesting. If normal power returns but parking behavior remains wrong, send support the kit label and a description of the wiring and settings.
Use firmware only after confirming your exact model and version with support. Keep the Best Buy version identified in your request, and include photos of the product label and firmware screen.
Have your model label, firmware, card and hardwire kit details ready.
Warranty & returns →Model-specific reference: Rexing M2 Max Pro Quick Start Guide, linked from the Best Buy version support page. Follow the instructions for your exact accessories.