
STEP 01
Mount & connect
Clean and dry the mounting surface. Secure the screen with its mount, position the front lens, and connect the matching rear camera to AV-IN. Keep cables clear of airbags and moving parts.
Carrito
Su carrito está vacío
Get your RoadMate CPDuo686 connected, recording, and ready for the road. Setup and answers for your specific model.
Download user manual ↗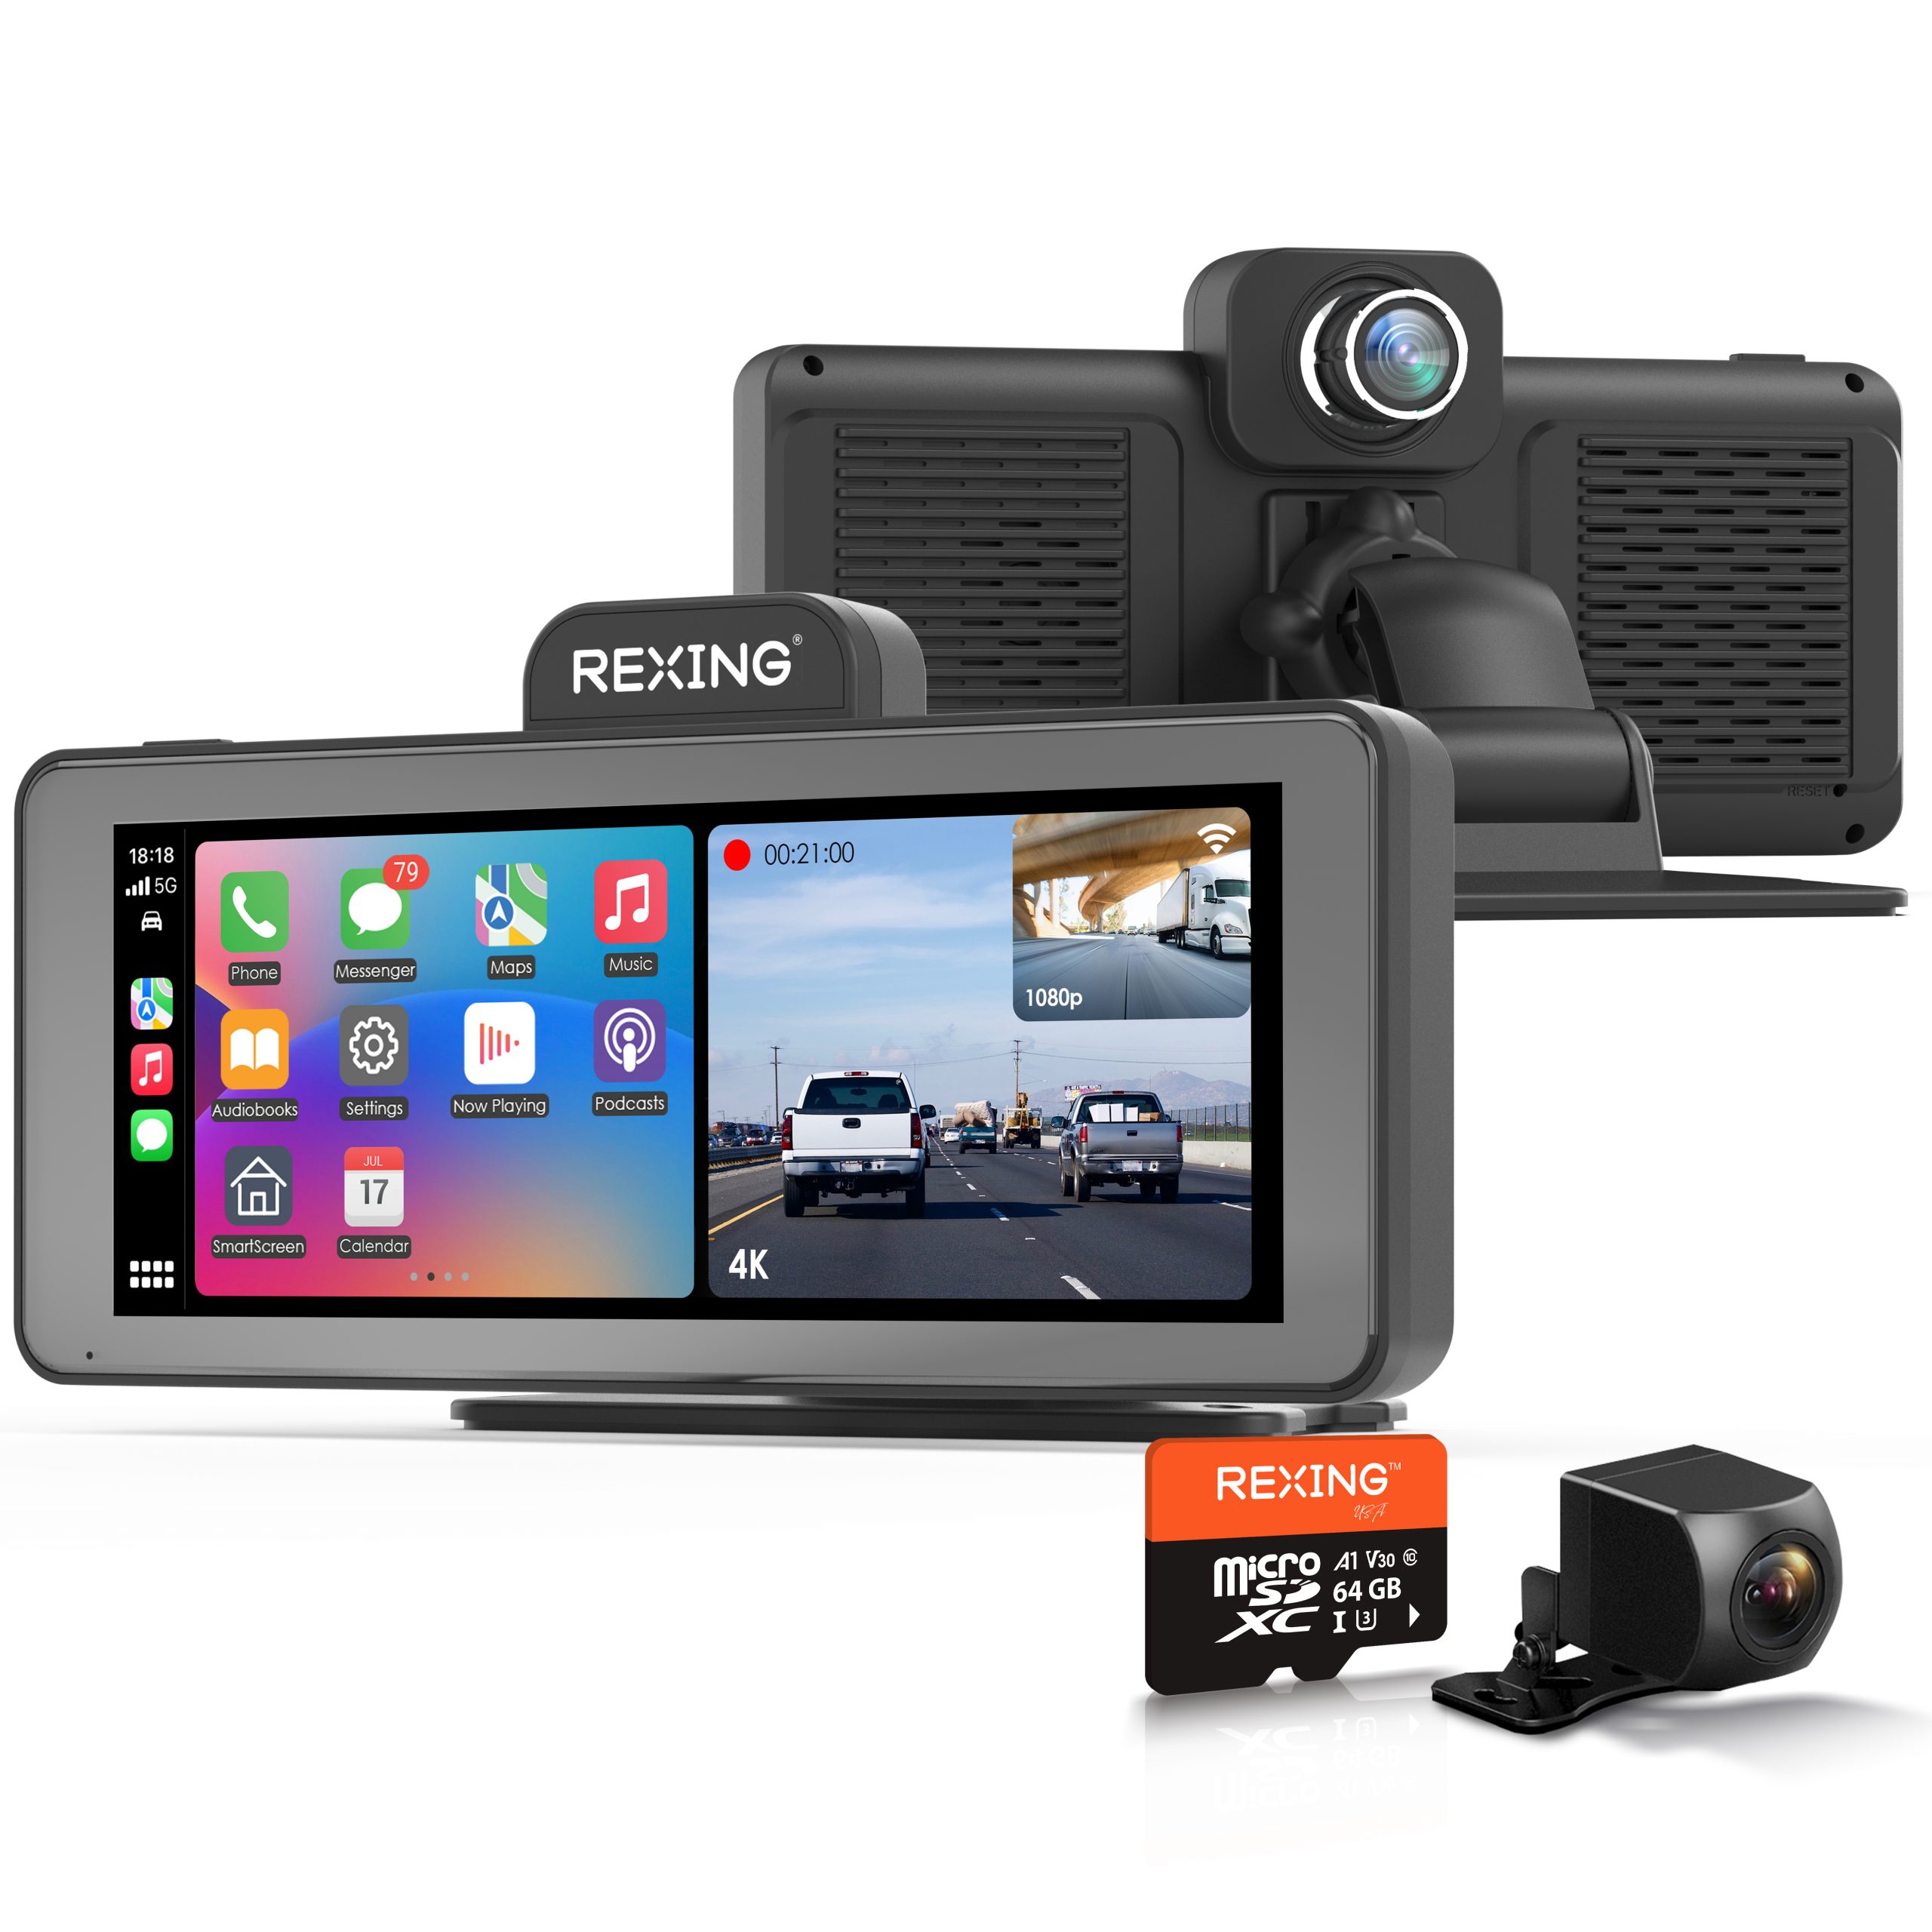
Complete setup while parked. Check both camera views before driving.
Clean and dry the mounting surface. Secure the screen with its mount, position the front lens, and connect the matching rear camera to AV-IN. Keep cables clear of airbags and moving parts.
With power off, insert a 32GB–256GB microSD card. Use Class 10 / U3 or higher to meet the manual’s installation guidance. Connect the supplied charger to the unit’s Type-C port and the vehicle power socket.
Save any files you need, stop recording, then select Format in Settings. Formatting erases the card. Make a short recording and use Playback to check the front and rear footage.
Keep Wi-Fi and Bluetooth enabled during wireless pairing.
Open Audio output from the home screen. Match its selected mode to your vehicle’s audio setup.
Use the screen’s own speaker to hear audio directly.
Connect your phone to the car stereo’s Bluetooth so phone audio plays through the vehicle. Adjust volume using the vehicle controls.
Select an unused FM frequency on the screen, then tune the car radio to the same frequency. Change both together if you hear interference.
Connect the screen’s AUX output to the car stereo’s AUX input. Select AUX mode and the corresponding stereo source, then adjust the car’s volume.
Guidance checked against the RoadMate CPDuo manual linked by the original CPDuo686 support page.
Keep Bluetooth and Wi-Fi on and allow extra time for the first pairing. Restart the iPhone. If needed, remove the saved vehicle in Settings → General → CarPlay and pair again.
Use a compatible Android phone, update Android Auto and related apps, and check Wi-Fi and Bluetooth. Disconnect a VPN while troubleshooting, then restart the phone and reconnect.
Open Wi-Fi Video and scan the QR code shown on your unit to install the matching app. The manual lists Rexing Connect in its specifications; follow the QR code for your device version. Do not use another model’s app instructions by assumption.
Power off and check the rear-camera connector is fully seated. Use the matching camera. If the image format or color is wrong, check Settings → Camera format; it must match the connected camera system.
Open Settings → Split time. The manual lists 1, 3, or 5 minutes, with 3 minutes as the default. Save important clips separately because storage and locked-file limits still apply.
With the vehicle safely parked centrally in a marked parking space, open Reverse Line Calibration. Align the left and right guide lines with the ground markings, adjust with the slider, then confirm to save. Guidelines are an aid; continue checking your surroundings.
The screen saver can turn off the display. Press the power button to wake it, then check recording status. If the unit has no power, inspect the supplied charger, vehicle socket, and connections.
Open Brightness to set the level or configure Auto mode and its minimum/maximum limits. Turn off Auto mode when you want manual brightness control.
The manual includes a Time-lapse Video setting, but the standard setup does not establish a specific compatible hardwire kit. Contact Rexing with your CPDuo686 version before purchasing parking-power accessories.
Have your CPDuo686 model, phone model and firmware version ready.
Use the connection details displayed on your own unit. Menu options may vary by device version.