
STEP 01
Prepare your card
With the camera off, insert the MicroSD card. Power on. If a format prompt appears, press the Power button to format. Wait for formatting to finish; recording starts automatically.
Carrito
Su carrito está vacío
Setup, everyday controls, and answers when you need them. Everything for your front and rear dash cam, in one place.
Download user manual ↗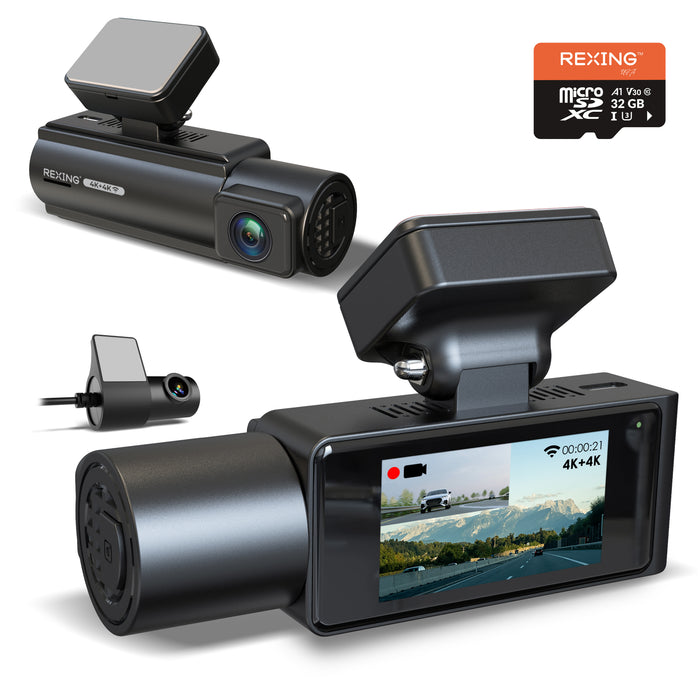
Prepare the memory card, install both cameras, then check that recording has started.
With the camera off, insert the MicroSD card. Power on. If a format prompt appears, press the Power button to format. Wait for formatting to finish; recording starts automatically.
Clean the windshield and apply the electrostatic sticker behind the mirror. Mount the front camera, connect the rear camera to its dedicated port, and route the cables neatly.
Connect the supplied car charger to the USB-C power port and the vehicle accessory socket. The camera starts recording when powered. Confirm that the recording indicator blinks.
Use this quick reference while the vehicle is safely parked. Detailed port and button illustrations are in the user manual.
View the illustrated manual ↗Hold to power on or off. Press once to switch camera views. Press twice to display the Wi-Fi connection information.
Press to take a photo. Hold to reset the camera if it becomes unresponsive.
Loop recording replaces the oldest unlocked clips. Protected clips remain until deleted or the card is formatted. Always power off before removing the card.
Connect directly to the camera using Rexing Connect.
Parking monitoring requires a compatible hardwire kit, sold separately. Follow the instructions for the kit you install.
Use the Rexing Type-C Smart Hardwire Kit for the camera's Parking Monitor function. It switches to parking monitoring when the engine turns off. The manual recommends High G-sensor sensitivity for parking.
Enable only with the required smart kitUse the Rexing 360° Intelligent Hardwire Kit. Its sensor powers the camera when it detects movement and recording continues until the motion clears.
Keep camera Parking Mode OFFFrequent wakeups can lower the vehicle battery voltage. When the hardwire kit reaches its low-voltage cutoff, it stops supplying power—even if motion is detected. Parking recording cannot resume until sufficient power is restored. The threshold and recovery behavior depend on the kit; check its instructions and the vehicle battery condition.
Start with the symptom you see. If the issue continues, our support team can help with your specific setup.
Contact support →Back up anything you need before formatting. Use a Class 10 / UHS-I or higher card, up to 256GB. Insert it while the camera is off, then power on and follow the format prompt. Press Power to confirm and wait until formatting completes.
Turn the camera off, check the rear-camera cable at both ends and reconnect it to the dedicated rear-camera port. Power on again and press Power once to switch views. If the image is still missing, contact support with a photo of the connections.
Press Power twice to show the camera network, then confirm your phone has joined that exact Wi-Fi network. Open Rexing Connect and tap Connect. If prompted, choose “Keep Trying Wi-Fi.” Use the name and password on your unit, not a sample from a guide.
Check the hardwire-kit type and the camera setting required for it. The 360° Intelligent Hardwire Kit requires camera Parking Mode to be OFF. Also check the kit’s low-voltage protection: when power is cut to protect the battery, motion cannot wake the camera.
Loop recording overwrites the oldest unlocked footage. Protected files stay on the card. Back up important recordings and remove unneeded files, or format the card after backing it up. A high G-sensor sensitivity can create more protected clips.
GPS requires the optional compatible logger. Confirm it is connected and allow the camera to acquire a signal with a clear view of the sky. The icon turns green when a signal is found.
Normal shutdown takes about three seconds after external power is removed. If the camera is unresponsive, hold the Photo / Reset button to reset it. If this repeats, contact support.
Have your model, order details, and a short description of the issue ready.
For Rexing C2 Pro. Setup instructions checked against the official C2 Pro User Manual, REV03202026.