Insert & format the card
Power off before inserting or removing a microSD card. Back up important files first. When the camera displays a formatting prompt, press OK to confirm. Recording starts after formatting finishes.
Carrito
Su carrito está vacío
Rexing product support
Start recording, connect your phone, and make sense of your camera's settings.
Open C1 Plus guide ↗English PDF · Revision 05052026
01 / Start here
Prepare the memory card, connect power, and check your first recording before you drive.
Power off before inserting or removing a microSD card. Back up important files first. When the camera displays a formatting prompt, press OK to confirm. Recording starts after formatting finishes.
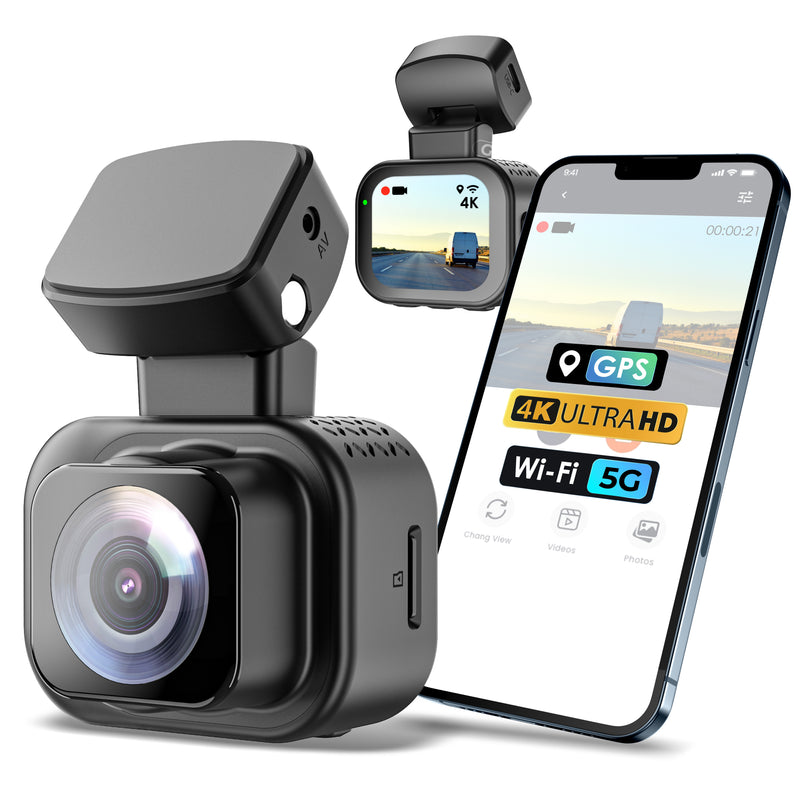
Clean and dry the windshield, apply the electrostatic sticker behind the rear-view mirror, and position the camera without blocking your view. Follow your included guide to connect the USB-C power supply and any supplied GPS logger.
The camera begins recording when it receives power. Flashing red indicates recording; flashing yellow indicates a locked clip. Check the camera view and confirm the date and time before driving.
02 / Connect your phone
Rexing Connect provides live view, settings and recording downloads over the camera's local Wi-Fi connection.
Get Rexing Connect →Wi-Fi automatically enters standby when the camera is powered on.
In your phone's Wi-Fi settings, select the camera network. The default password is 12345678; use your current password if you changed it. Stay connected even if your phone reports no internet.
Tap Connect. If prompted on your phone, choose Keep Trying Wi-Fi. You can then view or download clips and adjust settings. The camera time syncs with your phone.
03 / Add trip context
GPS adds speed and location to your recording review. It is not turn-by-turn navigation.
The 05052026 guide shows a separate GPS logger in the power path: connect the logger to the camera, then connect the car charger to the logger. Follow the diagram in your included guide and confirm the connectors match your unit.
Once powered, the camera searches for a GPS signal. The screen icon changes when a signal is acquired. Use the Rexing GPS video player for Windows or Mac to review available speed and location data.
Find GPS playback software →04 / Park with confidence
Parking monitoring requires the appropriate compatible power kit, sold separately.
The current guide specifies an OBD Smart Hardwire Kit for impact-triggered parking monitoring. With the correct kit installed, the camera switches between driving and parking operation as vehicle power changes.
The kit's motion sensor powers the camera on to record when it detects movement. The guide instructs you to keep the camera's Parking Mode OFF for this setup.
05 / Find an answer
Start with these checks before changing firmware or replacing accessories.
Back up your recordings, insert the card while the camera is off, then connect power. If the camera prompts you to format the card, press OK to confirm and allow formatting to finish. Unlike C1, this guide describes an on-screen confirmation. Follow the instructions for your exact C1 Plus version.
The 05052026 guide shows separate controls for power, locking a clip, starting/stopping recording, and taking a photo. Hold the power control to switch the camera on or off. Press the photo control to take a photo; hold it to mute. Match each control to the camera diagram in your included guide.
Join the camera's Wi-Fi network and open Rexing Connect. Video playback is available from the app home screen. Press and hold a clip to select it, then tap the download button. Back up important clips before formatting the card.
The camera Wi-Fi is a direct connection for viewing and downloading footage, not an internet hotspot. Stay on the camera network and choose Keep Trying Wi-Fi if prompted, then tap Connect in Rexing Connect. Disconnect from camera Wi-Fi when finished.
Loop recording replaces the oldest unlocked clips. Locked clips stay on the card until you delete them or format the card. Back up anything important, review G-sensor sensitivity, and maintain the card regularly. The guide lists Low as the default G-sensor setting.
The guide's installation section specifies Class 10 / UHS-I or higher microSD cards up to 128GB. A separate recording-time table also lists 256GB, so that table should not be treated as confirmation of compatibility. Confirm with support before purchasing a larger card for your version.
Check your phone's date and time, connect it to the camera's Wi-Fi, and open Rexing Connect. The guide says the camera time and date sync with the phone when the app connects.
The guide states that the camera shuts down about three seconds after external power is removed. Normal recording needs the car charger; parked recording needs the correct hardwire setup. Check the connections and any low-voltage cutoff on your kit.
Use only firmware confirmed for your exact model and hardware version. Contact support with the camera label and current firmware version before installing an update. Do not use files intended for C1 or another camera.

06 / Keep these handy
Camera controls, the GPS connection diagram and parking configurations.
Open guide ↗Get Rexing Connect and find the Windows and Mac GPS playback tools.
View Rexing apps →Read the current warranty terms or register your camera using the official registration form.
Warranty information →Real help, when you need it
Send your model label, firmware version, memory card capacity and a photo of the connections. These details help us identify your camera version.
Based on C1 Plus Quick Start Guide revision 05052026. Hardware and firmware versions may differ. View the C1 Plus product.