
Impact-triggered recording
The guide specifies a compatible Type-C Smart Hardwire Kit for vibration detection. Configure the camera’s matching parking setting.
Verify kit compatibility before installationPanier
Votre panier est vide
Your starting point for installation, touchscreen controls and recording checks. For the M2-4 / M2-4CH mirror camera.
Download M2-4 guide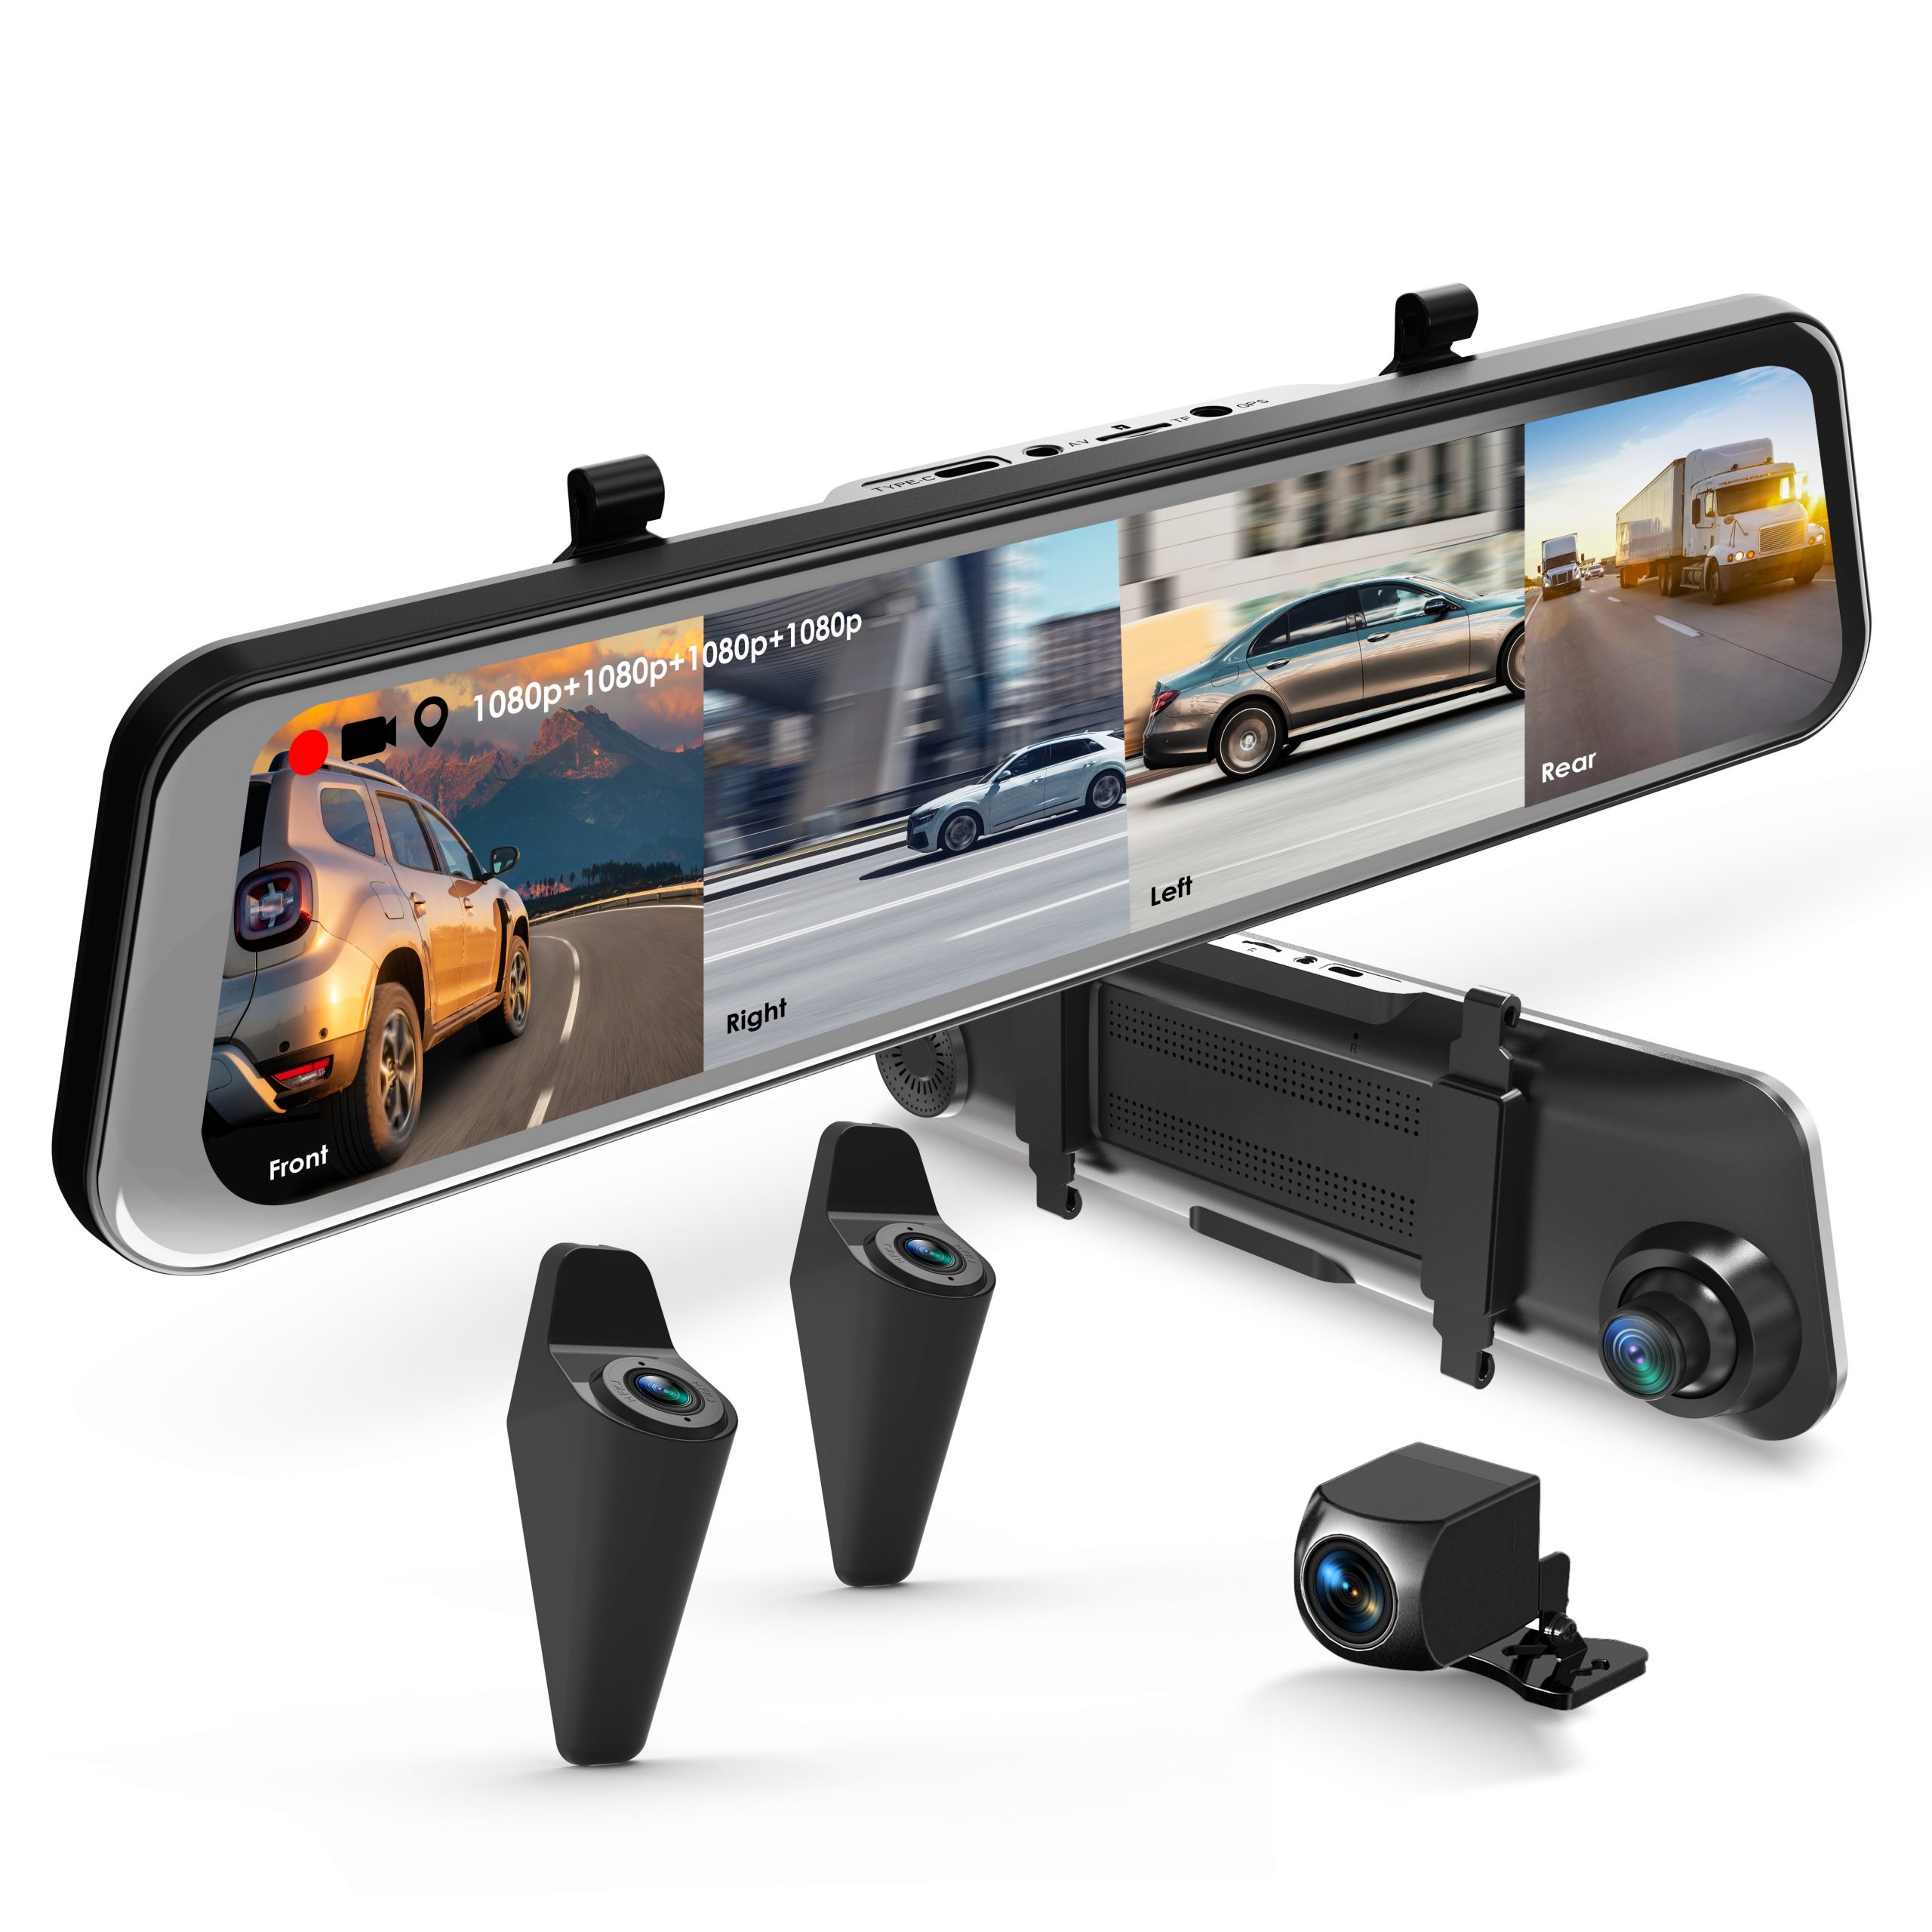
Complete setup while parked. Test the whole system before concealing the cables, so a connection problem is easier to locate.
Use a Class 10 microSD card, 32–256GB. Power off for card changes. To format: stop recording → Settings → General Settings → Format → OK. Back up important clips first.
Mount the mirror securely. Connect both side cameras and the rear camera through the supplied HUB, then connect the HUB to the mirror. Use the supplied vehicle power adapter.
Check that each connected camera has a clear image. Inspect the mounting, cable strain and lens cleanliness. Record a short test, then play it back to confirm the footage you expect is being saved.
Make screen adjustments before driving. A useful screen view and a saved video file are separate checks—confirm both.
Swipe left/right to switch views; swipe up/down to adjust the visible range. Channel Settings provides flip/mirror controls. After an adjustment, check a recorded clip as well as the screen.
A short power-button press toggles the screen. Hold for three seconds to switch device power. If the screen is dark, check whether recording continues before treating it as a power fault.
Use the touchscreen Playback control. For computer review, power off and use a card reader. Keep the original files when investigating an incident; create a copy for editing or sharing.
Confirm the exact kit name, camera connector and wiring arrangement before choosing a parking setting. A different kit can require a different setup.
The guide specifies a compatible Type-C Smart Hardwire Kit for vibration detection. Configure the camera’s matching parking setting.
Verify kit compatibility before installationWith the Type-C Intelligent Hardwire Kit, leave camera Parking Mode OFF. Follow the kit’s own installation instructions.
Intelligent kit: camera Parking Mode OFFIf your kit has battery protection, reaching its cutoff removes camera power. Frequent triggers can exhaust the available battery reserve; the camera then cannot wake for another event. Restore battery charge and check the installation. Keep battery protection enabled.
Confirm the system records reliably with the vehicle powered normally.
Test the installed kit’s intended trigger while parked. Keep notes on when recording starts or stops.
The rear red-wire trigger is for automatic reverse-view switching. Engine-off monitoring needs its own compatible power setup.
Try one change at a time. That makes it easier to identify the cause and explain the result to support.
Switch off the system and inspect the affected camera cable and HUB connection. Look for loose plugs, pinched cables or damage. Restart and test again. If the problem remains, send support photos of the connections and explain which view is missing.
Check whether the display has simply been switched off or is using a screen-saver setting. Confirm recording with a short playback test. If there is no response, test the supplied power adapter in a known-working vehicle outlet and inspect the cable connection.
Preserve your recordings first. Format the card in the camera using the steps above, then test again. If errors persist, try a known-good card suitable for dash-cam use. Do not remove a card while the camera is accessing it.
Check the camera’s physical orientation and the channel’s flip/mirror setting. Make changes while parked, then review a new recording. A live preview alone is not enough to confirm how a file will appear during playback.
Check whether the hardwire kit still supplies power and whether battery protection has reached its cutoff. Verify the installed kit and matching camera setting. If it continues after battery charge is restored, send support the kit label and a description of its wiring.
Confirm the model and current firmware with support before updating. Do not install an M2, M2 Max or other model’s firmware. Include a photo of the camera label and the firmware screen so support can identify the correct file.
Have your camera label, firmware, card details and kit information ready.
Model-specific reference: Rexing M2-4CH user manual. Follow the instructions supplied with your exact camera and accessories.