
STEP 01
Mount the front camera.
Clean and dry the windshield. Apply the electrostatic sticker, then attach the adhesive mount and camera without blocking your view.
Panier
Votre panier est vide
Your guide to front-and-rear recording: install the cameras, prepare the card, find your footage, and choose the right parking setup.
Download DT2 manual ↗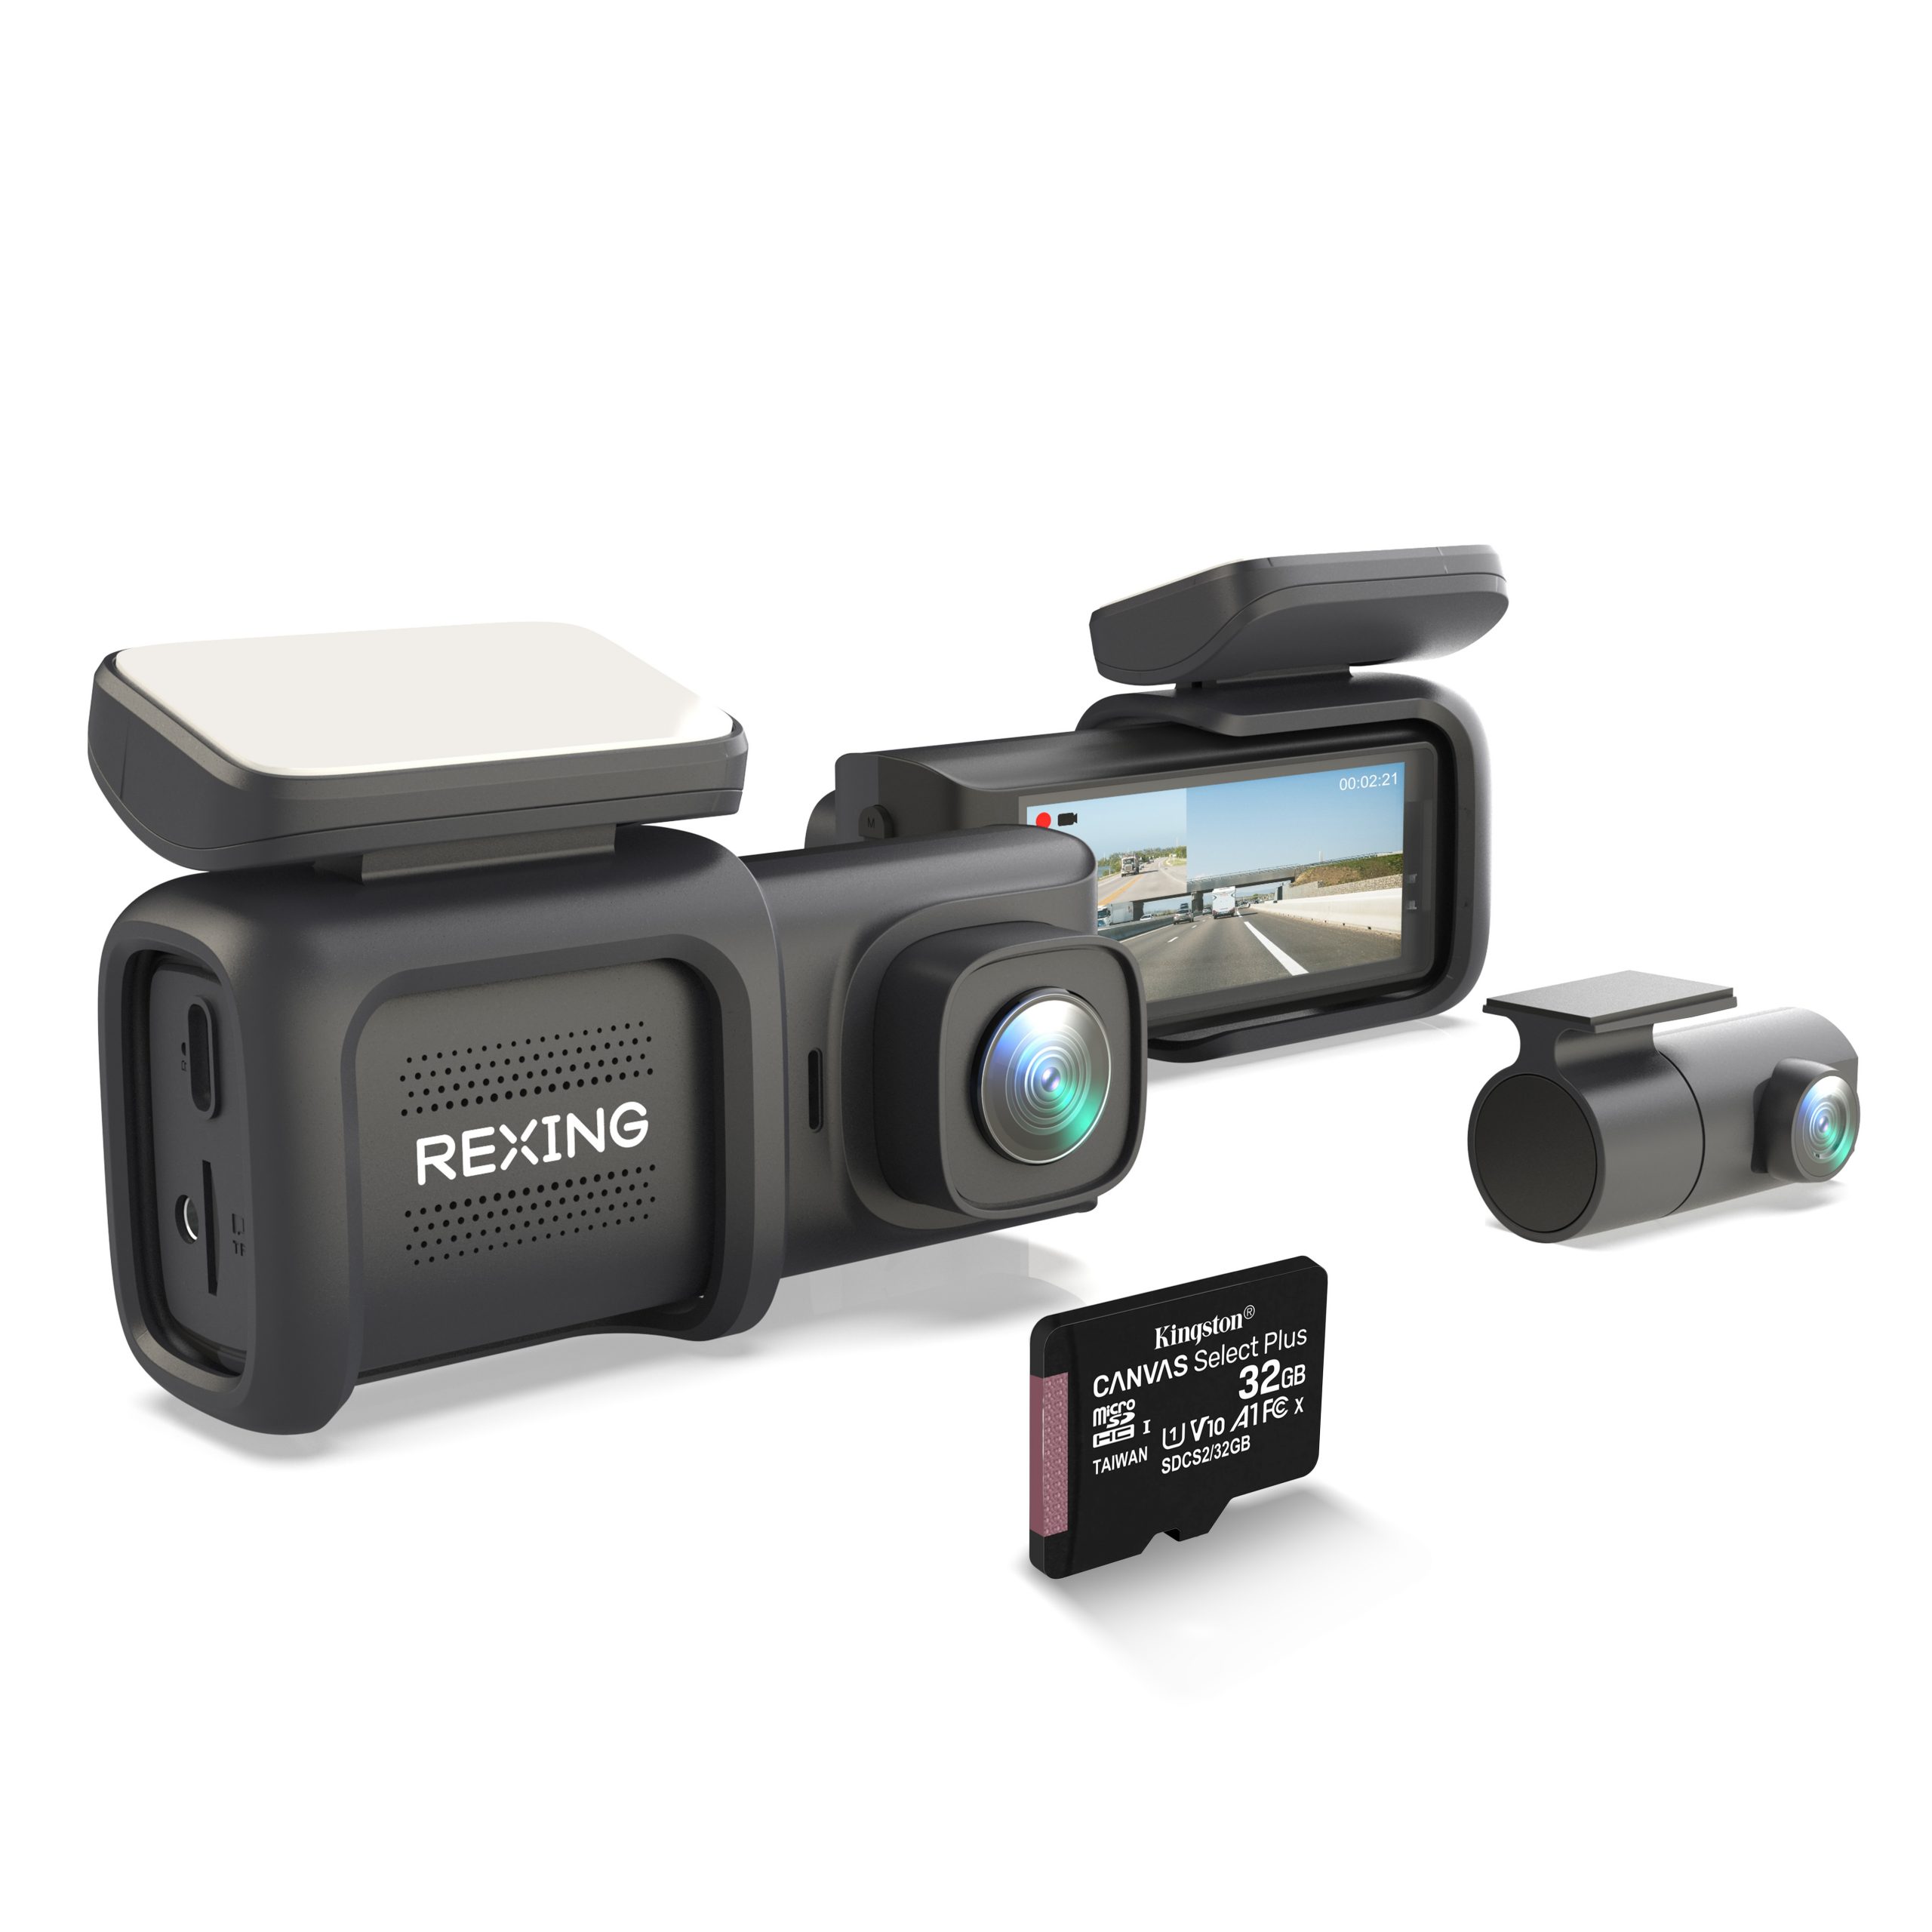
Complete installation while parked, and check the front and rear views before driving.
Clean and dry the windshield. Apply the electrostatic sticker, then attach the adhesive mount and camera without blocking your view.
Mount the rear unit and connect it to the front camera’s rear-camera port using the included cable. Keep cables clear of airbags and moving parts.
Connect the supplied charger to the camera’s USB-C power port and the vehicle’s 12V accessory socket.
Use a Class 10 / UHS-I or higher microSD card, up to 128GB. Power off before changing the card.
Formatting erases the files on the card, including protected recordings. Save anything you need first.
Power the camera on and press OK to stop the current recording.
Press M twice. Use the arrow buttons to select Format.
Press OK and confirm the format. Return to recording and check for the blinking red recording dot and LED indicators.
The front and rear cameras record to the card in the front unit.
Turn off the camera, remove the microSD card, and insert it into a compatible card reader. Copy important front and rear recordings to your computer before formatting or reusing the card.
Keep a separate copy of important clipsParking monitoring requires compatible continuous power. Both hardwire kits below are sold separately; confirm DT2 connector compatibility before ordering.
Use the camera’s Parking Monitor options with the compatible Smart Hardwire Kit. The DT2 guide describes impact-triggered recording; the menu guide also describes time-lapse where available.
Camera Parking Monitor: configure for this kitUse only the modes available on your camera’s firmware. Do not enable Parking Monitor without the required kit.
The kit’s motion sensor powers the camera when it detects movement. Follow the installation guide for the kit and let its sensor control recording.
Camera Parking Monitor: OFFThe DT2 manual specifically requires the camera’s Parking Mode setting to remain off with this motion-sensing kit.
Power, the memory card, and the rear-camera connection are good places to begin.
Ask Rexing support →Press OK to stop recording first. Then press M once for video settings, or twice for setup settings. Use the arrow buttons to highlight an option and OK to confirm.
Use a Class 10 / UHS-I or higher microSD card, up to 128GB. The DT2 package described in the manual includes a 32GB card. Turn the camera off before inserting or removing it.
Loop recording replaces the oldest unlocked clips. Protected files are retained. Back up important footage, review protected clips, and format in the camera if needed. For ordinary driving without parking mode, the manual recommends Low G-sensor sensitivity to reduce unnecessary locking.
The rear camera receives power through its connection to the front unit. Both cameras save footage to the microSD card in the front camera. If the rear view is missing, power off the system and check both ends of the rear-camera cable.
The screen-saver setting can turn off the display while the camera continues operating. Check the recording indicators and review a recent clip to confirm. Screen sleep and loss of power are different conditions.
Normal operation uses the supplied car charger. Parking recording requires a compatible hardwire kit, sold separately, installed for continuous power. Match the camera’s Parking Monitor setting to the kit type below.
Check power, the memory card, and the hardwire kit’s low-voltage protection. A kit may cut power when the vehicle battery reaches its cutoff, so the camera cannot record or wake for an event until power is restored. Check the instructions for your actual kit; do not assume one cutoff applies to every kit.
The original DT2 support page specifies operation up to 140°F (60°C). Avoid operating beyond the stated limit, and consult support if heat-related shutdowns persist.
Based on the DT2 user manual, DT2 menu guide, and official DT2 support page. Available settings may vary with firmware.