← All product support
Product support / V5C Plus · Best Buy version

Your camera.
Clear guidance.

Get your front and cabin views ready, connect your phone and understand the settings that keep your recordings working.

Download V5C Plus guide ↗
Front & cabin recordingWi-Fi & GPSVoice commands
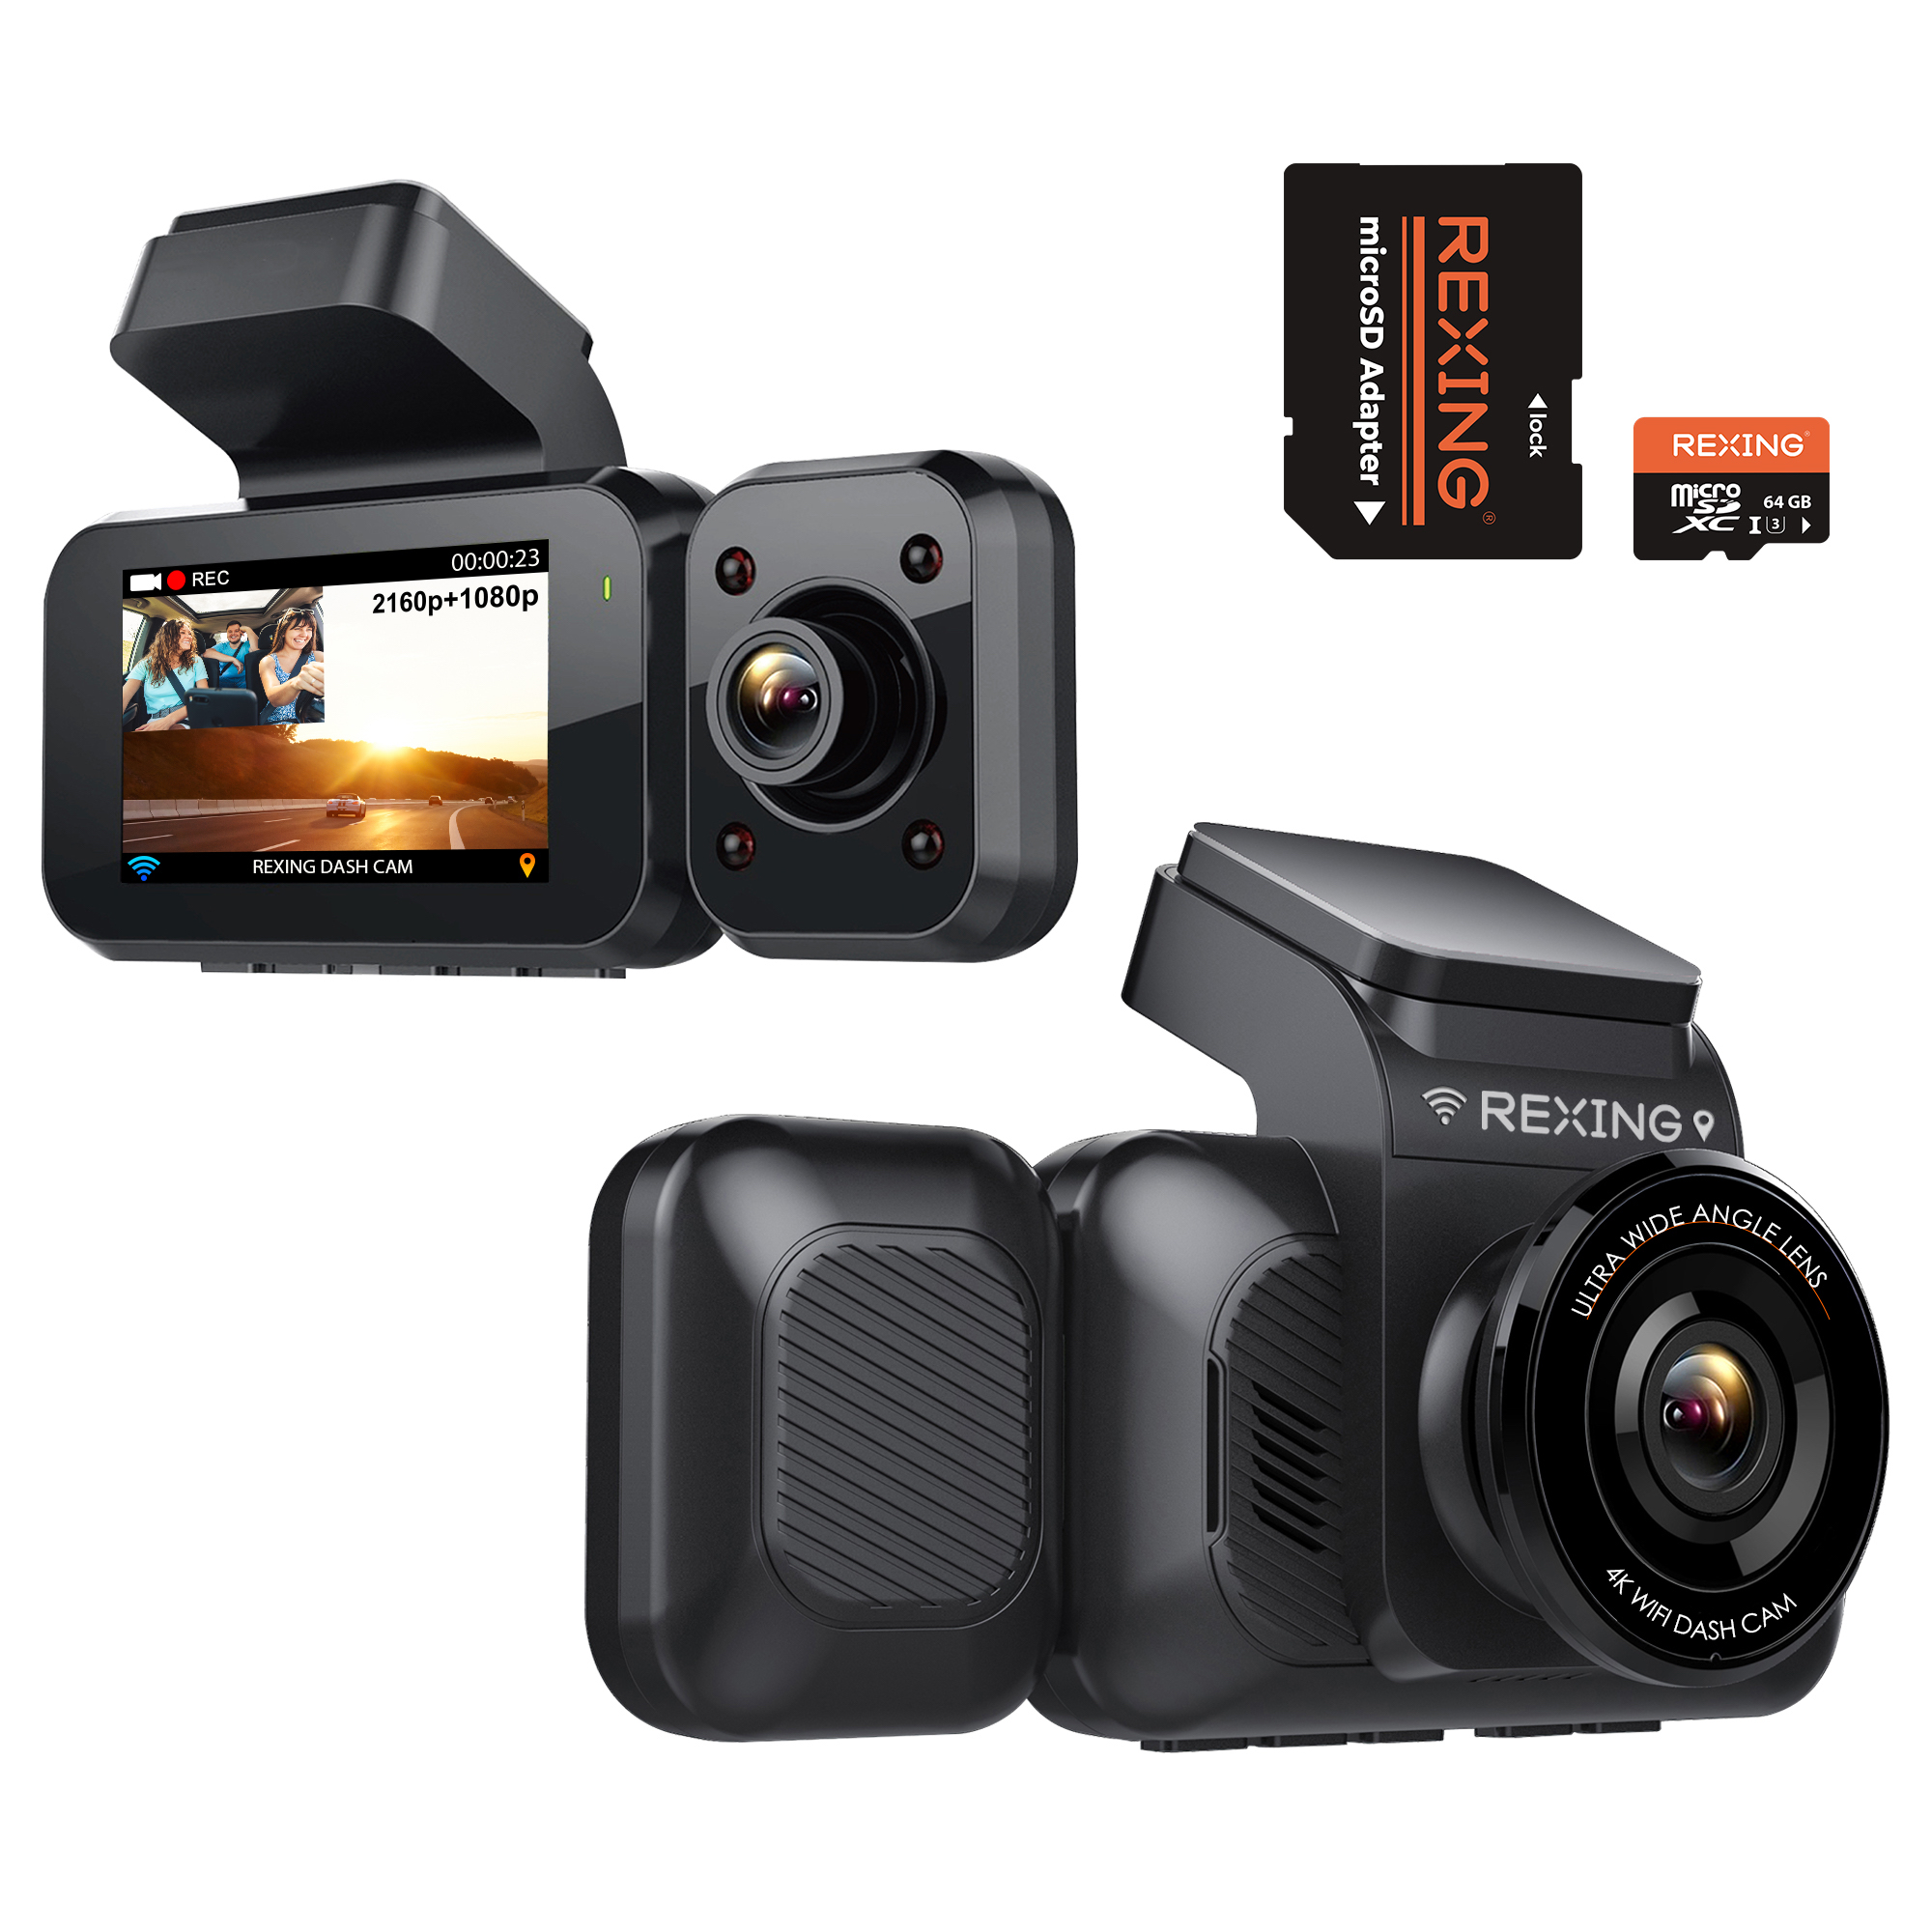
Rexing V5C Plus dash camera
01 / Start here

Ready for your first drive.

Complete installation and settings while parked. Use the guide for V5C Plus, not a similarly named V5 model.

STEP 01

Mount with a clear view.

Clean and dry the windshield, position the electrostatic sticker behind the rear-view mirror, and attach the adhesive mount. Keep your view unobstructed. The guide recommends waiting at least 20 minutes before mounting the camera.

STEP 02

Prepare the memory card.

Power off before inserting or removing a card. Use a Class 10 / U3-rated or higher microSD card up to 256GB. Push it gently until it clicks. The guide lists a 64GB card in the package.

STEP 03

Power and format.

Connect the supplied car charger to the camera and a 12V vehicle outlet. Press OK to stop recording, then MENU twice for System Settings. Select Format SD Card with UP / DOWN and confirm with OK.

Save important files first.

Formatting erases the card. Back up recordings before you format. Confirm date, time, camera views and the blinking recording indicator before driving.

Camera configuration: Front and cabin cameras record to the same card. A rear camera is optional and sold separately; connect it to the dedicated rear-camera port. Route all cables clear of airbags and moving parts.
02 / Wi-Fi and GPS

Connect.
View.
Download.

Rexing Connect gives you live view and access to your recordings.

  1. Enable camera Wi-Fi.With the camera powered on, hold the UP navigation button. The network name and password appear on-screen.
  2. Join the camera network.Open Wi-Fi settings on your phone, select the exact network displayed by the camera and enter its displayed password.
  3. Open Rexing Connect.Tap Connect in the app. Stay on the camera network if your phone says it has no internet. Hold UP for about 2 seconds to disconnect when finished.
Get Rexing Connect →
03 / Your recordings and controls

Find the moment you need.

Back up important clips before formatting or allowing loop recording to overwrite older unlocked footage.

ON THE CAMERA

Hold MENU for Playback.

Stop recording with OK, then hold MENU to select Playback mode. Browse with UP / DOWN and press OK to play or pause.

ON YOUR PHONE

Connect and download.

Join the camera Wi-Fi, open Rexing Connect and tap Connect. Find the clip you need and download it to your phone before sharing.

ON A COMPUTER

Copy from the card.

Power off the camera, remove the microSD card and connect it using a card reader. Copy recordings to a separate folder. The guide also supports a USB data connection.

Say the exact command.

The guide lists the phrases below for hands-free control. Commands for a rear view require an optional rear camera to be connected.

Take PhotoVideo StartVideo StopTurn on AudioTurn off AudioTurn on ScreenTurn off ScreenTurn on WiFiTurn off WiFiShow Front CameraShow Rear CameraShow Both CamerasLock the VideoInside Video on
04 / Parking monitoring

Two kit types.
Different settings.

Both methods require compatible hardwire accessories, sold separately. Match the setting to your actual kit.

Smart kit: vibration detection.

A compatible Smart Hardwire Kit provides power after the engine turns off and allows automatic switching between parking and normal recording. Enable Parking Monitor only after the correct kit is connected.

Camera Parking Monitor: ON with compatible Smart kit

The guide describes event recording triggered by significant movement or impact. It recommends high Gravity Sensing sensitivity for this parking use.

Intelligent kit: motion detection.

The Rexing Intelligent Hardwire Kit uses its sensor to detect motion and power up the camera to record. For this method, the guide specifically requires the camera’s Parking Mode setting to be OFF.

Camera Parking Mode: OFF with Intelligent kit

Follow the installation instructions supplied with your exact kit. Do not apply the Smart-kit setting to this mode.

Low battery can stop parking recording.

If the hardwire kit’s low-voltage protection cuts power, the camera cannot continue monitoring or start recording until power is restored. Frequent recording events can use more battery power. Cutoff thresholds and restart behavior depend on the installed kit.

Normal driving: The guide recommends low Gravity Sensing sensitivity when parking monitoring is not used. Too many locked clips can fill the card because loop recording does not overwrite protected files.

Hardwire installation guide ↗

05 / Troubleshooting

Get back to recording.

Start with power, card preparation and the correct setting for your accessory.

Ask Rexing support →

Which memory card should I use?

The V5C Plus guide specifies Class 10 / UHS-3 or higher microSD cards, up to 256GB. Look for a U3-rated card designed for continuous dash-cam recording. The guide lists a 64GB card in the package. Format cards in the camera before use.

How do I format the card?

Back up important recordings first. Stop recording with OK, press MENU twice to enter System Settings, use UP / DOWN to select Format SD Card, then confirm with OK. Formatting erases the card.

Why can’t I open the menu?

Press OK to stop the current recording before entering settings. Press MENU once for the current mode’s settings or twice for System Settings.

The phone says “No internet” on camera Wi-Fi. Is that normal?

Yes. The camera’s Wi-Fi is a local connection for live view and transferring recordings. Stay connected to that network and open Rexing Connect. If prompted, select Keep Trying Wi-Fi or the equivalent option.

How long will my memory card record?

Recording time varies with resolution, active cameras, file size and settings. Loop recording overwrites the oldest unlocked clips when space is needed. Back up important footage; do not rely on a fixed number of recording hours.

Why is my card full with loop recording enabled?

Locked event files are protected from loop overwriting. Back up required clips and review locked files. The guide recommends low Gravity Sensing sensitivity for normal driving when parking monitoring is not used.

Is a rear camera included?

The V5C Plus includes a front-facing view and cabin-facing camera. The rear camera connects to a dedicated port and is sold separately according to the guide. Front and cabin recordings use the same memory card.

Why does parking monitoring stop working?

Check that the correct hardwire kit is installed and its required camera setting is selected. Smart-kit vibration monitoring and Intelligent-kit motion detection use different settings. If the kit cuts power to protect a low vehicle battery, the camera cannot record until power is restored.

Why is GPS not showing a location?

The camera searches for GPS after it receives power. Allow it to acquire a signal; the GPS indicator changes from red to green. Select the GPS speed unit in System Settings. Use the GPS video player to view recorded speed and location.

06 / Downloads and help

The right resources for V5C Plus.

Still need a hand?

Share your camera model, firmware version and hardwire-kit model, if installed.

Contact Rexing support →

Based on the V5C Plus quick start guide, revision 012024REV1, linked from the Best Buy version support page. Register your camera ↗