
RH2-4.
Set up.
Stay covered.
Get your RH2-4 recording, connect Rexing Connect and find the right guide for playback and parking monitoring.
Download RH2-4 guide ↗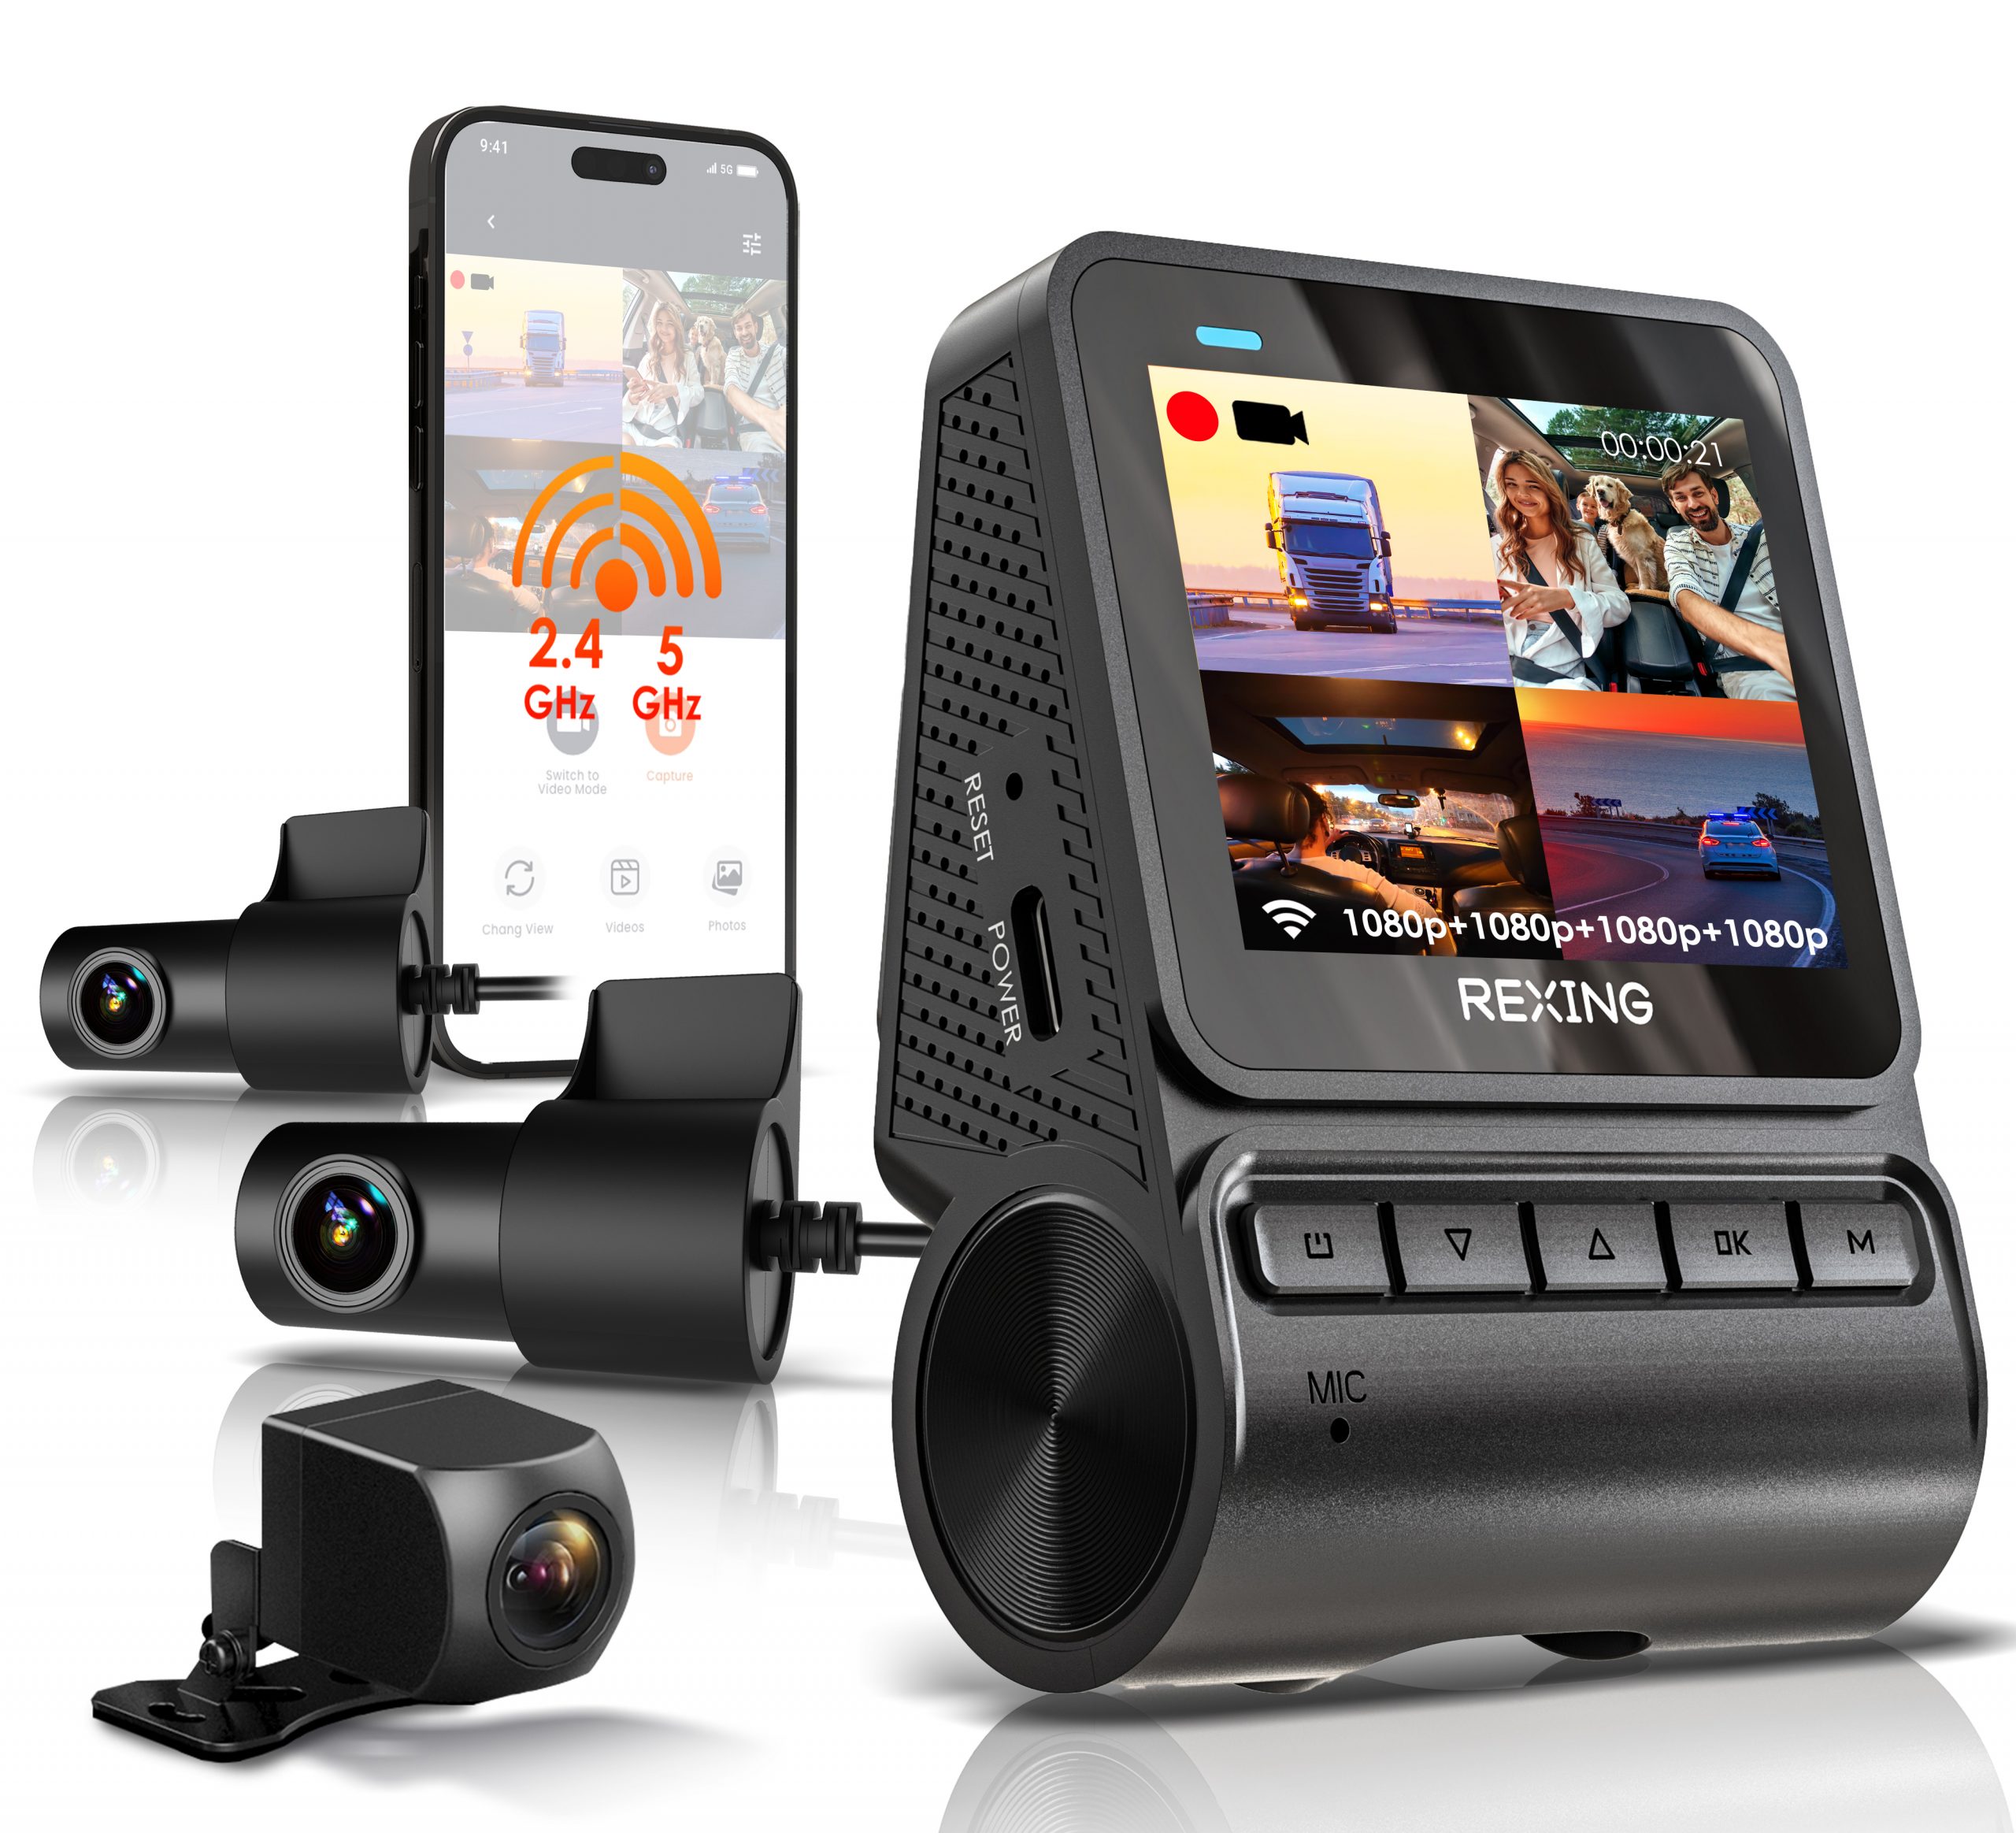
Ready for the first drive.
Follow the illustrated installation section in this version’s RH2-4 user manual.
Insert a suitable card
Use a dash-cam-rated microSD card, Class 10 / UHS-I or higher, up to 512GB. Power the camera off before inserting or removing the card. Back up recordings before formatting.
Choose and secure your mount
Clean and dry the windshield. The guide covers the 3M adhesive mount and electrostatic sticker. Position the camera behind the rear-view mirror without blocking your view. Follow the drying and mounting instructions for your chosen mount.
Connect vehicle power
Plug the supplied car charger into a 12V DC accessory outlet and connect it to the camera. The camera starts recording when it receives power. Press and hold Power to turn it on manually.
Connect nearby.
Review your recordings.
Use Rexing Connect for the phone connection described in the RH2-4 manual.
Rexing app downloads →Enable camera Wi-Fi
With the camera powered on, hold the OK navigation button to enable Wi-Fi. The camera displays its Wi-Fi name and password. Use the details shown on your own camera.
Connect your phone
Open your phone’s Wi-Fi settings and join the camera’s network. Enter the displayed password, then open Rexing Connect. The manual notes that some phones may need another connection attempt.
Play footage on the camera
Hold MENU and toggle to Playback Mode. Use the UP and DOWN buttons to choose a video, then press OK to play or pause. During playback, UP rewinds and DOWN fast-forwards.
Review footage on a computer
Turn the camera off before removing the card. Insert it into an SD-card adapter or compatible card reader, then access the recordings on your computer. Keep a separate copy of important clips.
Set up the power first.
Parking monitoring requires a compatible Smart Hardwire Kit. It supplies power after the engine is off and helps protect the vehicle battery.
Vibration detection setup
The RH2-4 guide specifies a Smart Hardwire Kit, sold separately, UPC 810046607497. Confirm compatibility before installation and follow the exact kit instructions.
Understand impact detection
The Gravity Sensing function detects significant or sudden movement and triggers an event recording. The guide suggests High sensitivity for parking recording; use the setting appropriate to your installation.
Do not enable Parking Monitor without the smart hardwire kit
The manual explicitly warns that enabling Parking Monitor without this connection may cause a malfunction. With the smart hardwire kit installed correctly, the camera can switch to parking mode when the engine turns off and return to normal recording when it turns on.
A clearer next step.
Use the RH2-4 guide for RH2-4. Settings and package contents may differ between versions.
Which memory card does this version support?
A Class 10 / UHS-I or higher microSD card up to 512GB. Choose a card designed for continuous dash-cam recording and insert or remove it only with power off.
Why can’t I change menu settings?
Press UP to stop an active recording, press MENU once for Video Settings or twice for Setup Settings. Resume recording after you finish.
My phone cannot connect to the camera. What should I check?
Power the camera on, hold OK to enable Wi-Fi and confirm the network name and password on-screen. Join that network in the phone’s Wi-Fi settings before opening Rexing Connect. Some phones may need more than one connection attempt.
Why is my memory card filling up?
Locked event clips are not removed by loop recording. Check your Gravity Sensing sensitivity and back up important recordings. The guide recommends Low sensitivity when you do not use parking mode.
Can I use parking mode with only the car charger?
The guide requires a compatible Smart Hardwire Kit for Parking Monitor. Do not enable that setting without the smart hardwire connection.
Where should I look for firmware?
Use Rexing’s official firmware tool and match the exact model and version. Avoid installing firmware intended for another camera. Contact support if you cannot confirm the correct file.
The right guide for your RH2-4.
Still need a hand?
Tell us it is the RH2-4 version and share the issue and firmware version.
Model reference: Rexing RH2-4 support page and its linked quick start guide. Package contents and accessory availability depend on the version purchased.