
01
Check compatibility
Read the battery label and confirm voltage and chemistry with its manufacturer. Do not select a mode from appearance alone.
Cart
Your cart is empty
Choose the right mode, check your connections and understand the charging indicators.
Download N1 guide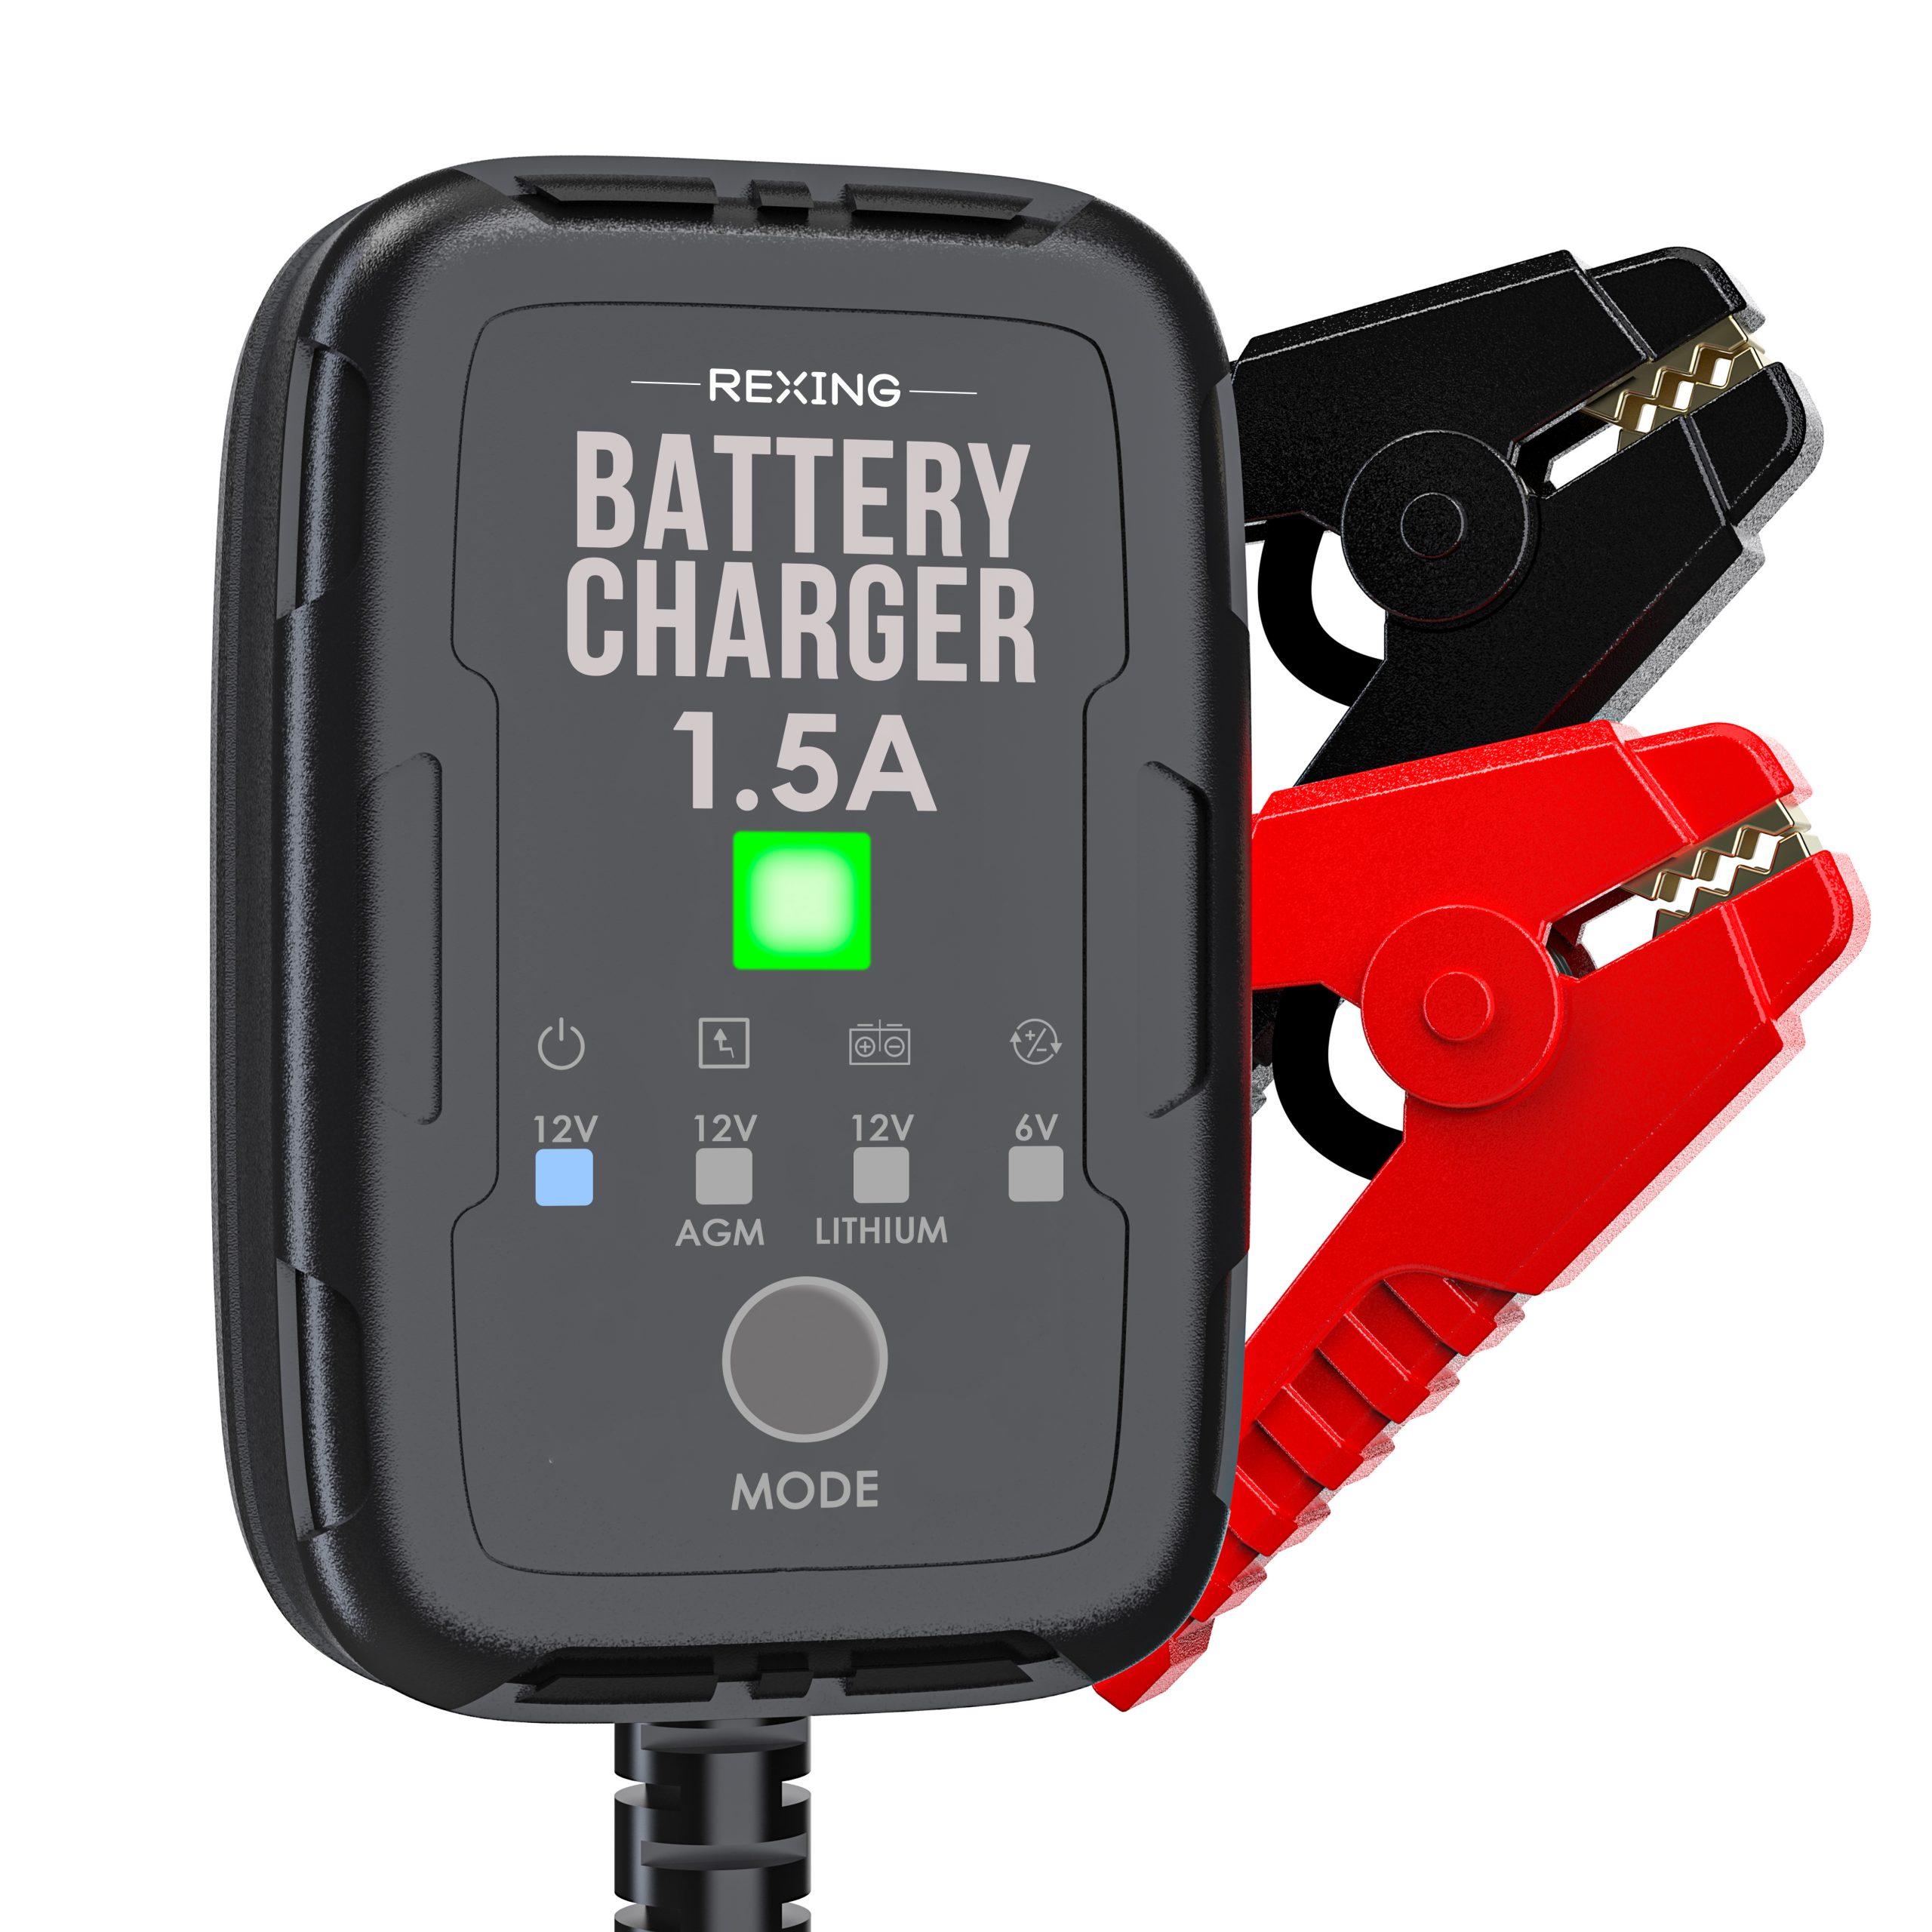
Work in a ventilated area, keep sparks away and inspect the charger, leads and battery before use. Stop if the battery is damaged or frozen.
Read the battery label and confirm voltage and chemistry with its manufacturer. Do not select a mode from appearance alone.
With the charger unplugged, follow the guide’s separate instructions for an installed or removed battery. Vehicle grounding changes the connection sequence.
Connect AC power, select the approved mode and check the indicators. Keep leads clear of moving parts and closing panels.
N1 has Standby, 12V, 12V AGM, 12V Lithium, 6V and Force modes. Confirm the correct setting before operating.
The charger is not charging in Standby; the orange Standby LED illuminates.
Choose the setting for the confirmed battery type. AGM has its own dedicated mode.
Use only the mode approved for the battery’s voltage and chemistry. Read the model guide before selection.
Do not use Force to bypass an unexplained error. Review its full instructions and restrictions before considering it.
Note the exact symbol, color and whether the light is steady or pulsing. That detail helps support diagnose the issue.
The manual describes this as a charge level below 75%.
Green indicates the later charging stages. During maintenance, the green LED can pulse as the charger monitors the battery.
Use the manual’s error table to identify the symbol. A voltage mismatch requires checking the battery and selected mode.
Standby or a battery too low to detect can produce a Standby indication. Confirm battery condition and the selected mode before taking further action. Stop using the charger if anything is damaged, unusually hot or behaving unexpectedly.
For help, share the charger label, battery label, selected mode and a photo or short video of the LEDs.
N1 is a trickle charger, not a jump starter. Use the correct equipment for the task; contact support if you are unsure which product you need.
Match both battery voltage and chemistry. Follow the battery manufacturer’s charging requirements and the N1 guide. Do not cycle through modes to see which one seems to work.
Record the exact symbol and light behavior. Disconnect safely before inspecting connections. Send support the battery and charger labels and describe when the error appears.
Follow the guide’s maintenance instructions and your battery manufacturer’s requirements. Keep the charger in a suitable location and inspect the equipment regularly. Do not leave damaged equipment in use.
Have the charger label, battery details and indicator photo ready.
Model reference: Rexing Trickle Charger N1 Quick Start Guide, revision May 2026. Follow the complete safety and connection instructions for your battery and vehicle.