
STEP 01
Mount the camera.
Clean the windshield and secure the window mount. Attach the F10 and check that the lens has a clear view of the road.
Cart
Your cart is empty
Get your F10 ready for the road. Find the right card, connect Wi-Fi, and keep the recordings that matter.
Download F10 manual ↗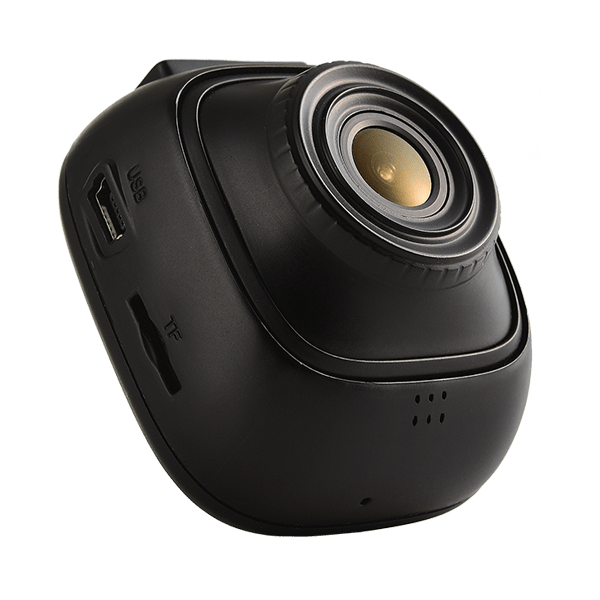
Set up while parked. Position the camera and cables clear of your view, airbags and moving parts.
Clean the windshield and secure the window mount. Attach the F10 and check that the lens has a clear view of the road.
With power off, insert a compatible microSD card until it clicks into place. Format it in the camera before your first recording.
Use the supplied Rexing-approved charger in the vehicle’s 12V accessory socket. Recording starts automatically when the camera powers on.
Use a Class 10 or higher microSD card, 8GB–128GB, as specified in the F10 manual.
Formatting erases everything on the card, including protected videos. Back up your recordings before continuing.
Press Power/OK to stop the current recording.
Press MENU twice for Setup. Use the ▲ / ▼ buttons to select Format, then press Power/OK.
Select Yes with the arrow buttons and confirm with Power/OK. Return to recording and look for the flashing red recording dot.
To exit, select WiFi_OFF on the camera using ▲ / ▼ and confirm with Power/OK.
Play recordings on the F10 or transfer the original files to your computer.
Power off before removing the card, then use a compatible card reader. You can also connect the camera by its mini-USB data cable and select Mass Storage.
Copy your .MOV recordings to a separate folder. Use a video player compatible with MOV files.
Locked clips: CARDV / MOVIE / ROStart with power, card health and the recording status.
Ask Rexing support →The F10 manual specifies Class 10 or higher microSD cards, from 8GB up to 128GB. Use a card suited to continuous dash-camera recording. Turn the camera off before inserting or removing it.
Press Power/OK to stop recording first. Press MENU once for video settings or twice for the Setup menu.
Locked clips are not overwritten by loop recording. Back up important files, review the protected recordings, and format the card in the camera when needed. The manual recommends a Low Gravity Sensing setting for normal use.
Screen Saver turns off the display after the selected interval. That alone does not mean recording has stopped. Check the recording indicator and a recent saved clip; if the camera itself has lost power, check the charger and socket.
Check CARDV → MOVIE → RO on the memory card. Pressing MODE while recording locks the current clip only; related footage may be in the preceding or following clip.
Some vehicle accessory sockets supply power continuously. Automatic on/off follows power at the socket, so it will not follow the ignition when that socket remains powered.
No. The F10 manual says the camera must remain powered for motion detection. The internal battery is primarily for saving files, not extended parked recording. Confirm a suitable power solution with Support.
The original F10 manual names TimaCam. App availability and compatibility with current phones may vary. If it is unavailable or will not connect, contact Support with your F10 firmware version and phone model. A card reader remains an option for accessing recordings.
Based on the official F10 User Manual (09/2017 Rev1). Available settings may vary by firmware.